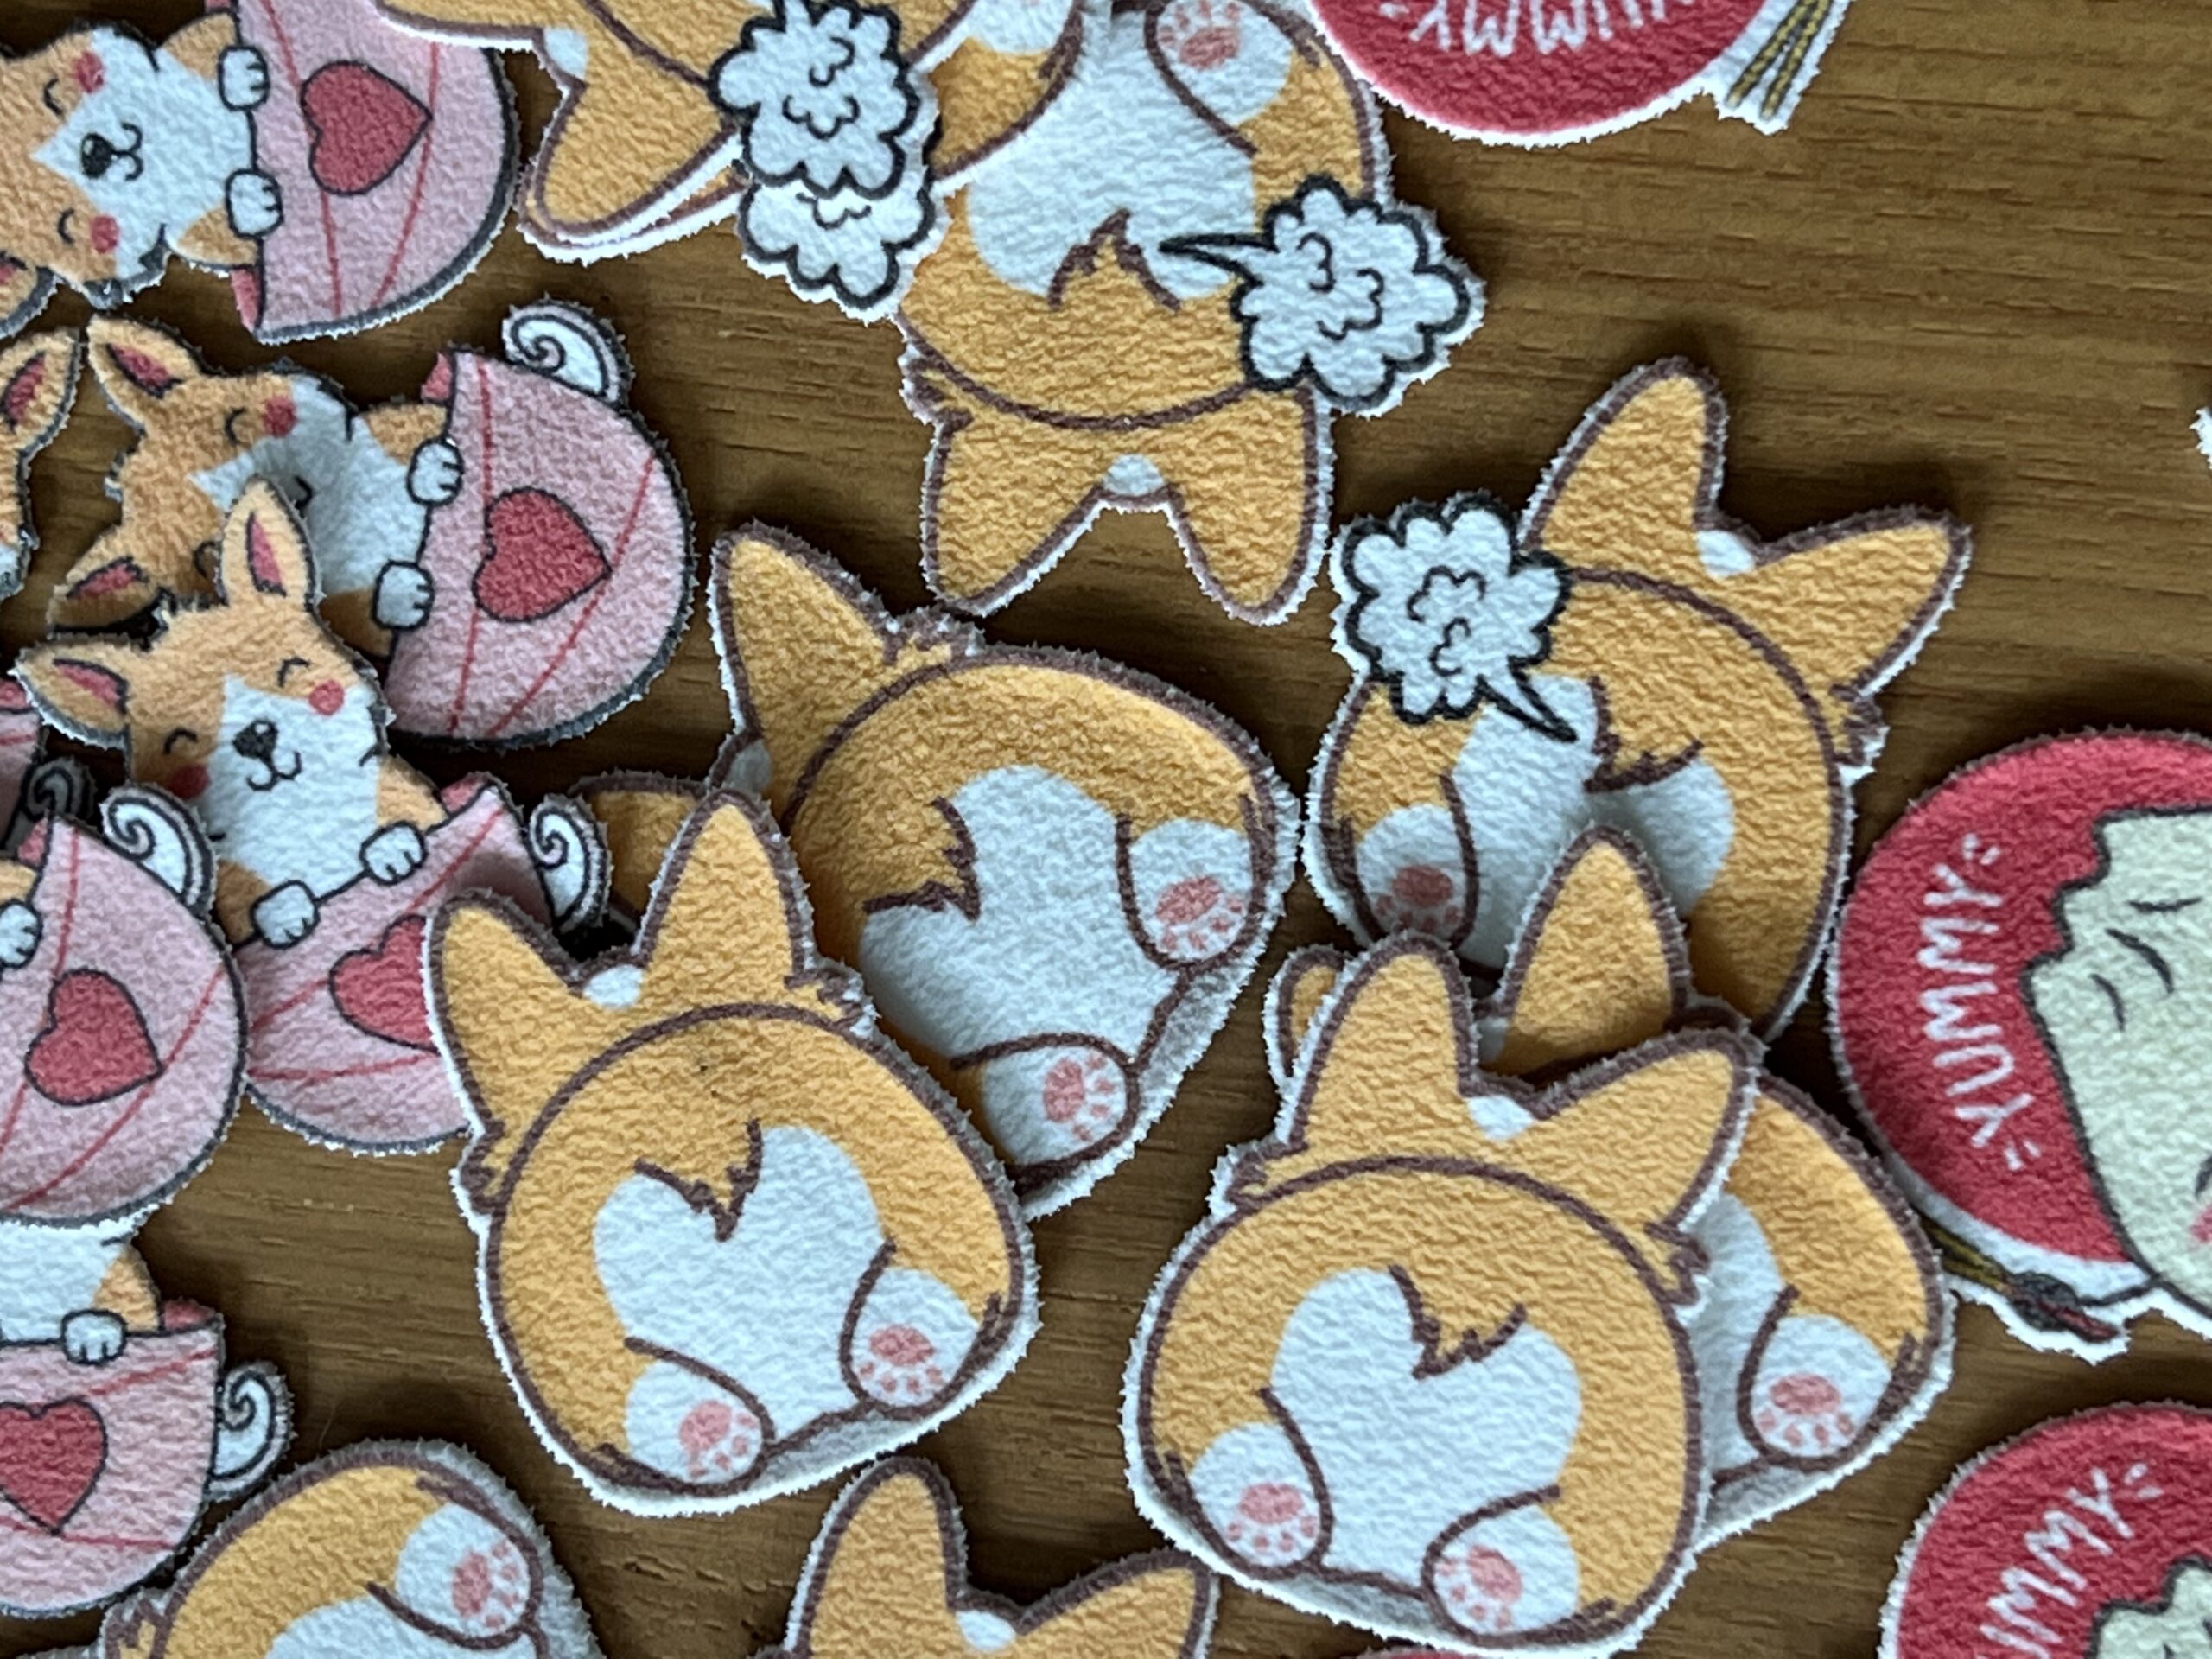
This will be short..! The TLDR is: always follow the same formula or procedure when you’re making crafts. Write down the instructions if you can’t remember very well like me! Here is what happens when you don’t remember the temperature to bake pins and you end up ruining a bunch:
overbaked pins
As you can tell, these got overheated and you can see the wrinkling when they shrunk. I’ve ruined at least 2 sheets worth of pins before I realize the temperature was too high. The pins didn’t shrink the way I wanted and created this ‘wrinkle’ effect. Agh!
So learn from me: write down your try and true instructions!
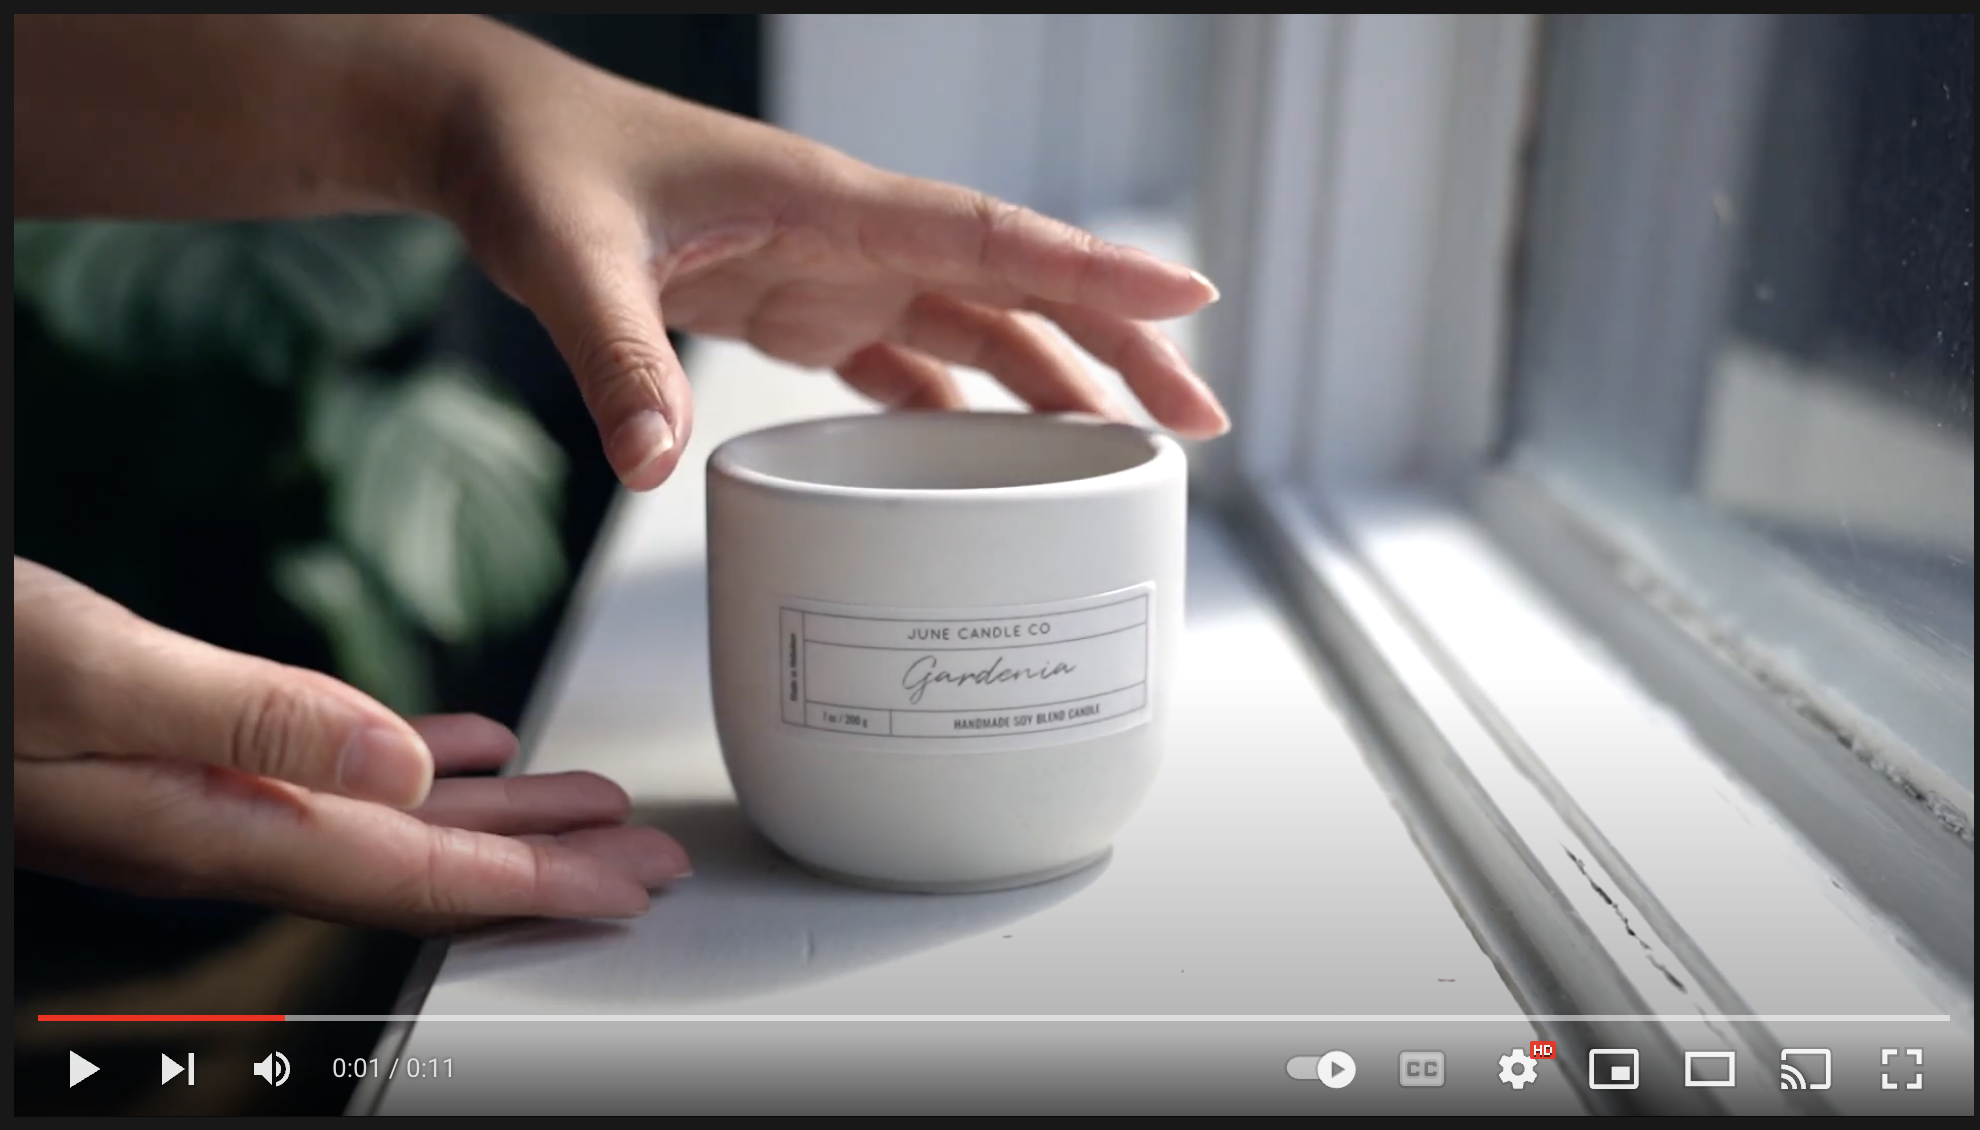
I have videos on my Etsy product listings and I would like to think it helps the potential customers decide if they like the candle or not. Perhaps it gives them a ‘3D’ look of the candle. I would like to think from a sellers perspective, it also provides some version of imperfection that you may not have noticed in the photos, a more realistic view if you will.
Website Placement for Youtube Video
For this website (junecandleco.com), I place them by the description beneath the ‘fold’ because well, I tried putting it with the videos but I really just didn’t like the aesthetics of it. Based on Youtube stats, they don’t get played very much.
Unfortunately I can’t see the stats of how many video views on Etsy so it’s really hard to know if it’s really preferable. Etsy says it’s a good idea so I’ve been trying to include as many videos as I can on all my products. I even started doing it for the pins even though the pins leave very little for imagination on the pictures in my opinion!
Ghost with Pirate Hat Pin Video
I also don’t really see an increase in SEO on both Etsy and the website so I’m not sure if it really affects the search algorithm. Maybe it’s really meant for user experience than increasing search effectiveness.
Conclusion from my very limited dataset: If you want to show off your product, a video is useful but not always necessary. If your product is self explanatory or you already have great photos, the video might just be super extra.
I am reminiscing on all the things I bought that I thought would make my life easier when creating concrete vessels. I figure I let ya’ll know what *didn’t* work for me and don’t fall down the same path I did! Now I have to look for homes for all these things.
Mini Sander: Dremel. It was super small and the purpose was to be able to hand held and sand the vessels to make terrazzo. How wrong I was! There was not enough surface space and every concrete thing i had took 1 sanding loop thing. it’s not as smooth as you think it gets.
Concrete Mixer – I’ll admit it: this was because I thought there would be more consistency in color and not as many swirls. Turns out, I am wrong: using hand is better and you can mash the clumps away. i thought the clumps was going to go away if i got a mixer but nope. It also didn’t feel any easier.
Vibrating Machine – i never got this but I do have a massage gun. I tried using it on my candle vessels and I don’t see any difference! Maybe I’m doing it wrong and need those concrete levelers from the bottom?
AliExpress Molds: i never found one that I liked and the quality is subpar. Start with buying a cheap one on Amazon and go from there.
big handle of Rutlands – it always left a crusty outside as a sealer so i gave up on that. I know a lot of creaters do well with it but it just wasn’t for me. I use EarthSafe now and I haven’t even gone through a whole bottle.
Hopefully this will help someone from not having to spend too much money to start off with some wrong materials.
Facebook sent me $5 ad credit and I thought using it to see if I can get more people to visit my website. I was also curious as to what kind of data they can provide about the visitors and what’s the return on investment for the free $5 credit.
Here’s what my ad looks like on Facebook mobile feed:
Mobile Feed of Facebook Ad
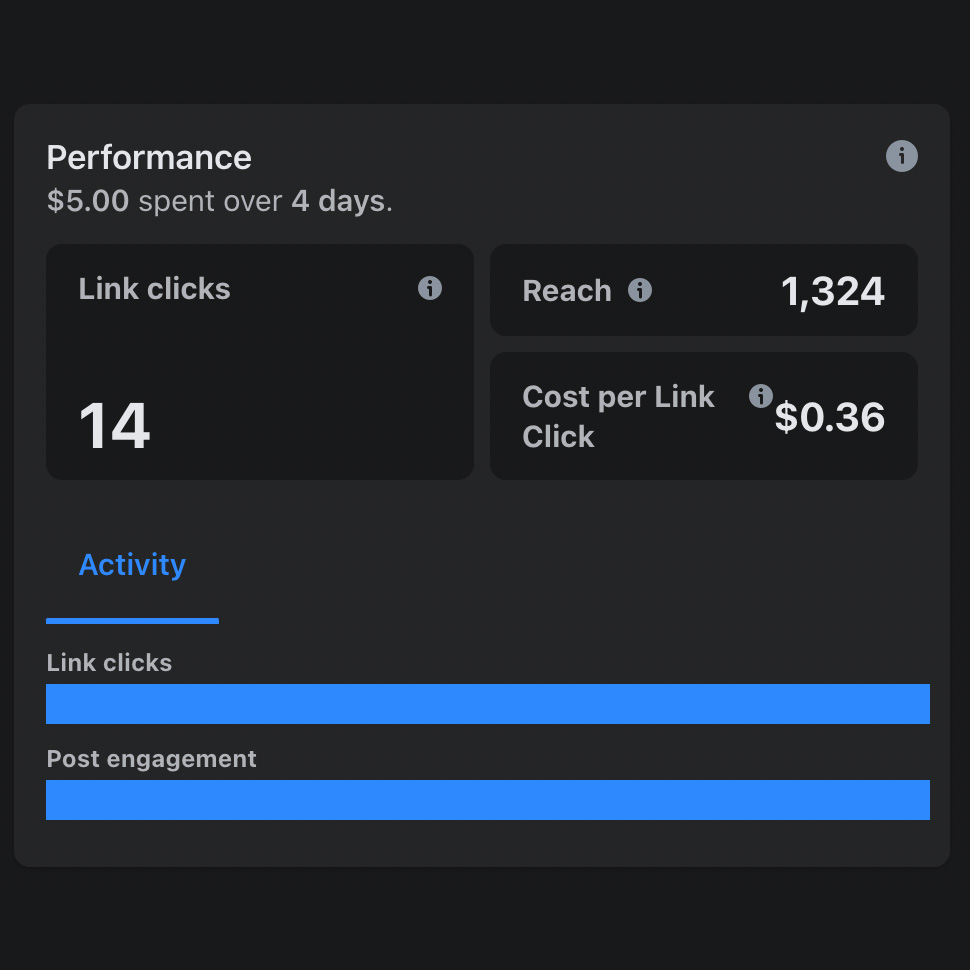
Here’s some stats I pulled from the dashboard after running the ad for 4 days and used up all the credit:
14 link clicks, 1,324 reach, $0.36 cost per link click
14 link clicks at an average of $0.36 per click. The clicks did not convert into a sale so the conversion rate is pretty bad. It’s interesting to see the reach though at 1,324 impressions. I can get a similar reach on instagram but it’s hard to tell from instagram the click through rate on products.
Here’s some more info about demographics:
state demographicsplacement typesaudience
It’s interesting that women tend to click on the ad more and the ad showed up more on mobile and in California. I have no idea what this means but the stats provided some cool graphs!
I’ve tried Google Ads as well and the results was definitely not great either. After spending $2.85 on google ads, I gave up and just went back to figuring out better ways to improve SEO and performance on the site. Scouring Reddit and the internet, a lot of people suggest getting better at those two things first before using ads to boost sales and engagement.
Let me know if you’ve tried ads before and what your outcome was. Perhaps I am just doing it all wrong!
Somehow, I got into this rabbit hole of creating plastic pins out of shrink film paper and UV resin. There’s a great youtube video about how to do that here:
Since I have all of the tools (cricut, printer, conviction oven), I bought the shrink film paper, UV resin, and pin backs to start off. I have to say, it’s so cool!
You start off with printing out the images you want to shrink, and then you can use scissors or a cricut to cut out the images. I used my cricut because it was easier and I needed to justify the purchase..! The setting I used was either the knife blade with 4x cutting using the ChipBoard (1.5mm) setting. I just stopped the cricut when it hit 4x. I’ve also used the Deep Point blade using the Plastic Packaging setting (6x) and that worked fine. I think I’ll try the 3x setting with Deep Point next because it dug into the mat pretty deep.
Shrink Paper cut out of pins
Then I shoved it into the oven at 350F preheated and it came out like this after 1 minute or so! Definitely keep an eye on it and wait till it flattens.
shrink film paper after oven
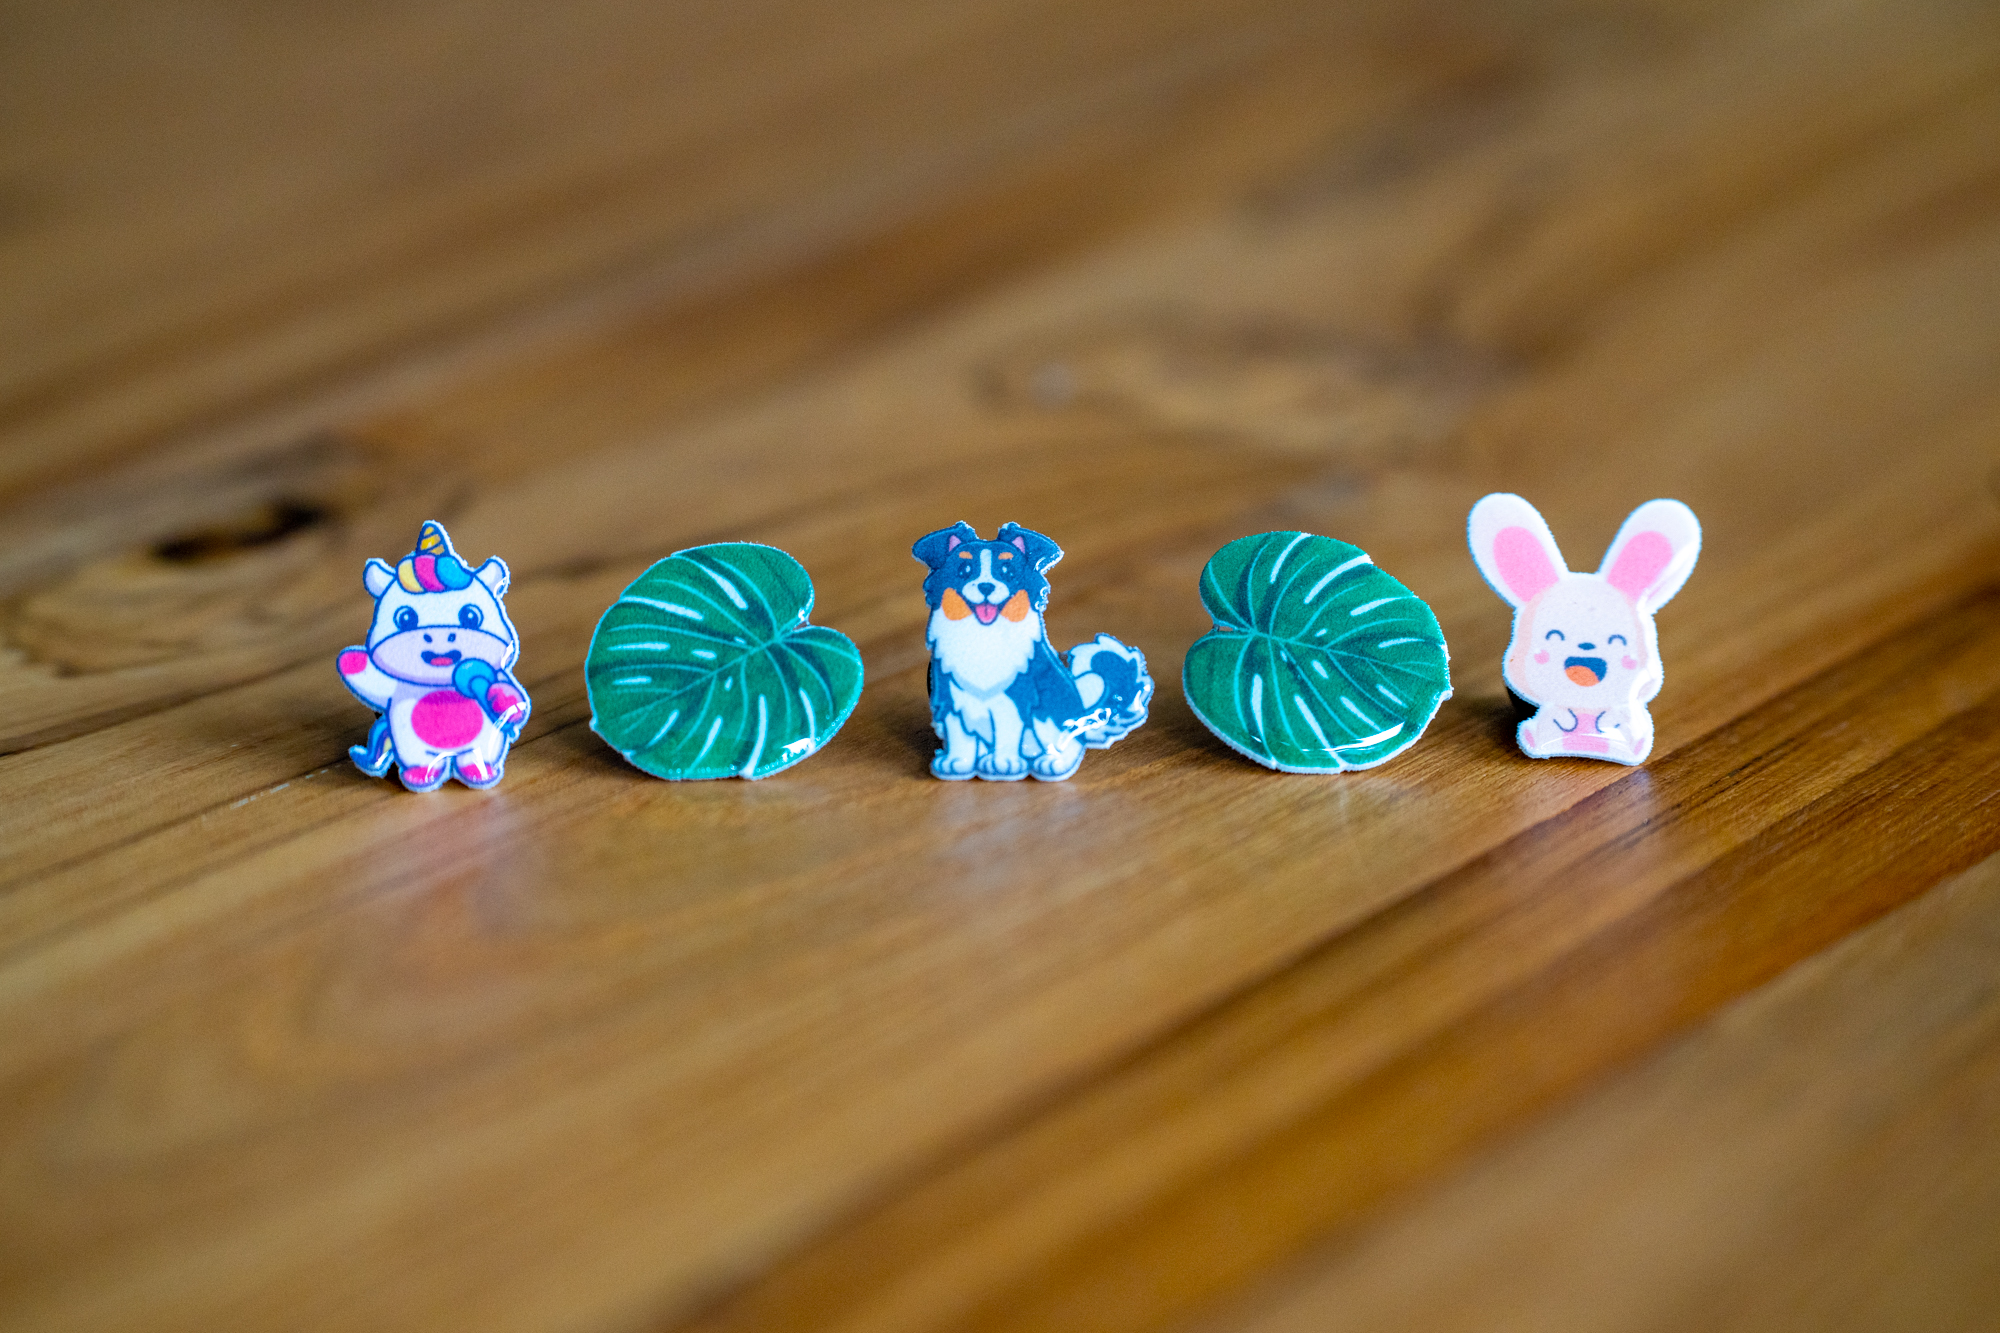
I ordered more pin backs with better secured backing which will come tomorrow so these are in progress. Here’s a few I’ve finished from the last batch after the UV resin and putting in the pin backs:
Unicorn, Monstera, Dog, and Bunny pins
Aren’t they adorable?? The question is, are they worth making and selling or just making for the cute factor?
There’s so many different kind of ways to label your candles. I started off with a basic paint sticker so I know which candle is what and passed those around as testers.
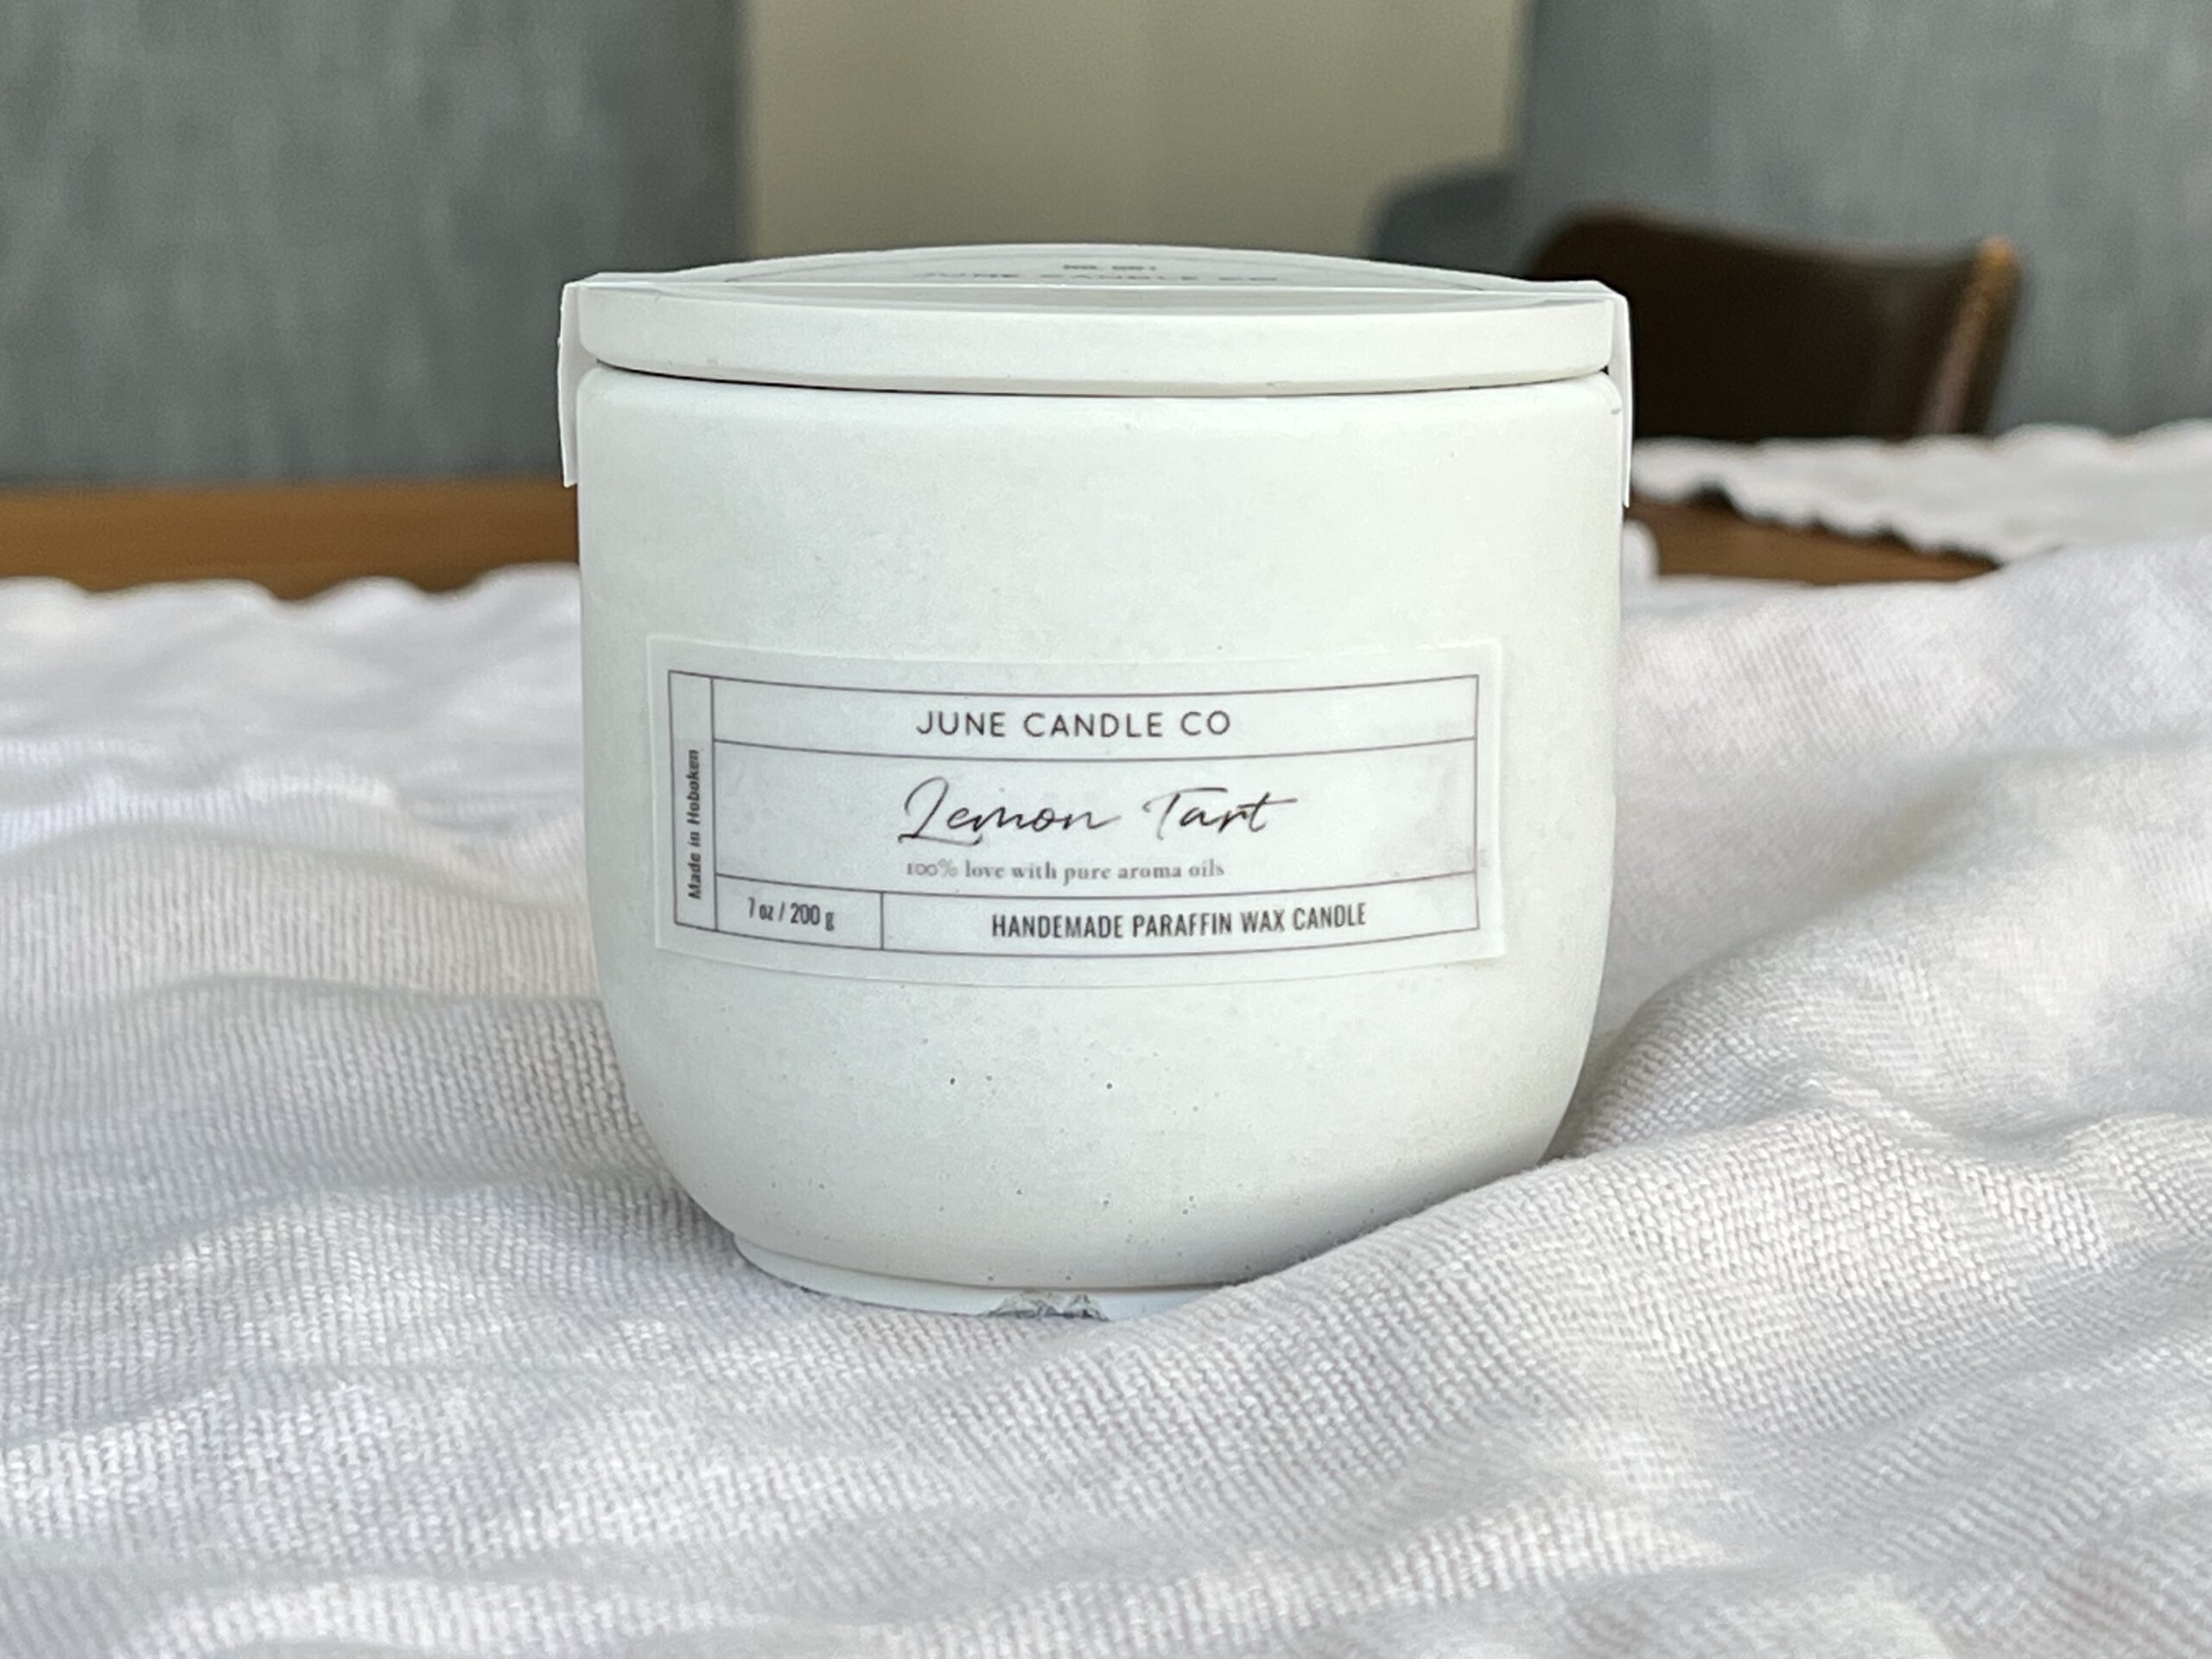
Then I went on to the wraparound over the lid to make sure people can see what the scent was and to stick the lid to the vessel. I had a few thoughts about the aesthetic and the functionality of it. If someone was trying to smell the candle in person at a retail location, that might be hard to do! But if they were unpacking it at home, it’s like unwrapping a bow.
I got some feedback that it was hard to know what the candle scent is once they take over the paper. My latest try is vellum paper over the top with the lid tapped down and a label at the front of the candle. People can still ‘unwrap’ the candle and they will have a reminder label in the front to show them what the scent is. They can also turn it around if they want to try a minimalist aesthetic or just simply take it off. Let’s see how this one turns out!
I’m always looking for mold deals especially when I am in the testing phase. I got this 6 inch planter pot mold from https://moderncraftlabs.com/ from a seconds sale because I thought ‘how awesome would it be to be able to make my own planters now instead of needing to buy it??
There’s caveats of course. It takes a huge amount of cement for the size (1600 grams of cement al with 400 grams of water!) and also a ton of pigments to make the color I want it to be! This lavender one below? I cracked it by accidentally when it was setting. I’m not sure how but I must’ve touched it or made the cement mixture too runny. You can barely tell though right?
Lavender Planter Pot
I ended up putting left over cement from my next batch at the bottom to cover the cracks and no one is the wiser. I also will put a cork coaster below it to ‘seal’ the crack from the bottom. Don’t worry, it’s a test planter that I will be giving away to a fellow plant enthusiast.
How do you all think of these two colors? I had to mix in some blue to hopefully make a darker purple but alas, it doesn’t turn out that dark in the pictures.
Two Purple Planters
The one on the left is still drying so the colors will light up some more. It’s really a nice hefty pot!
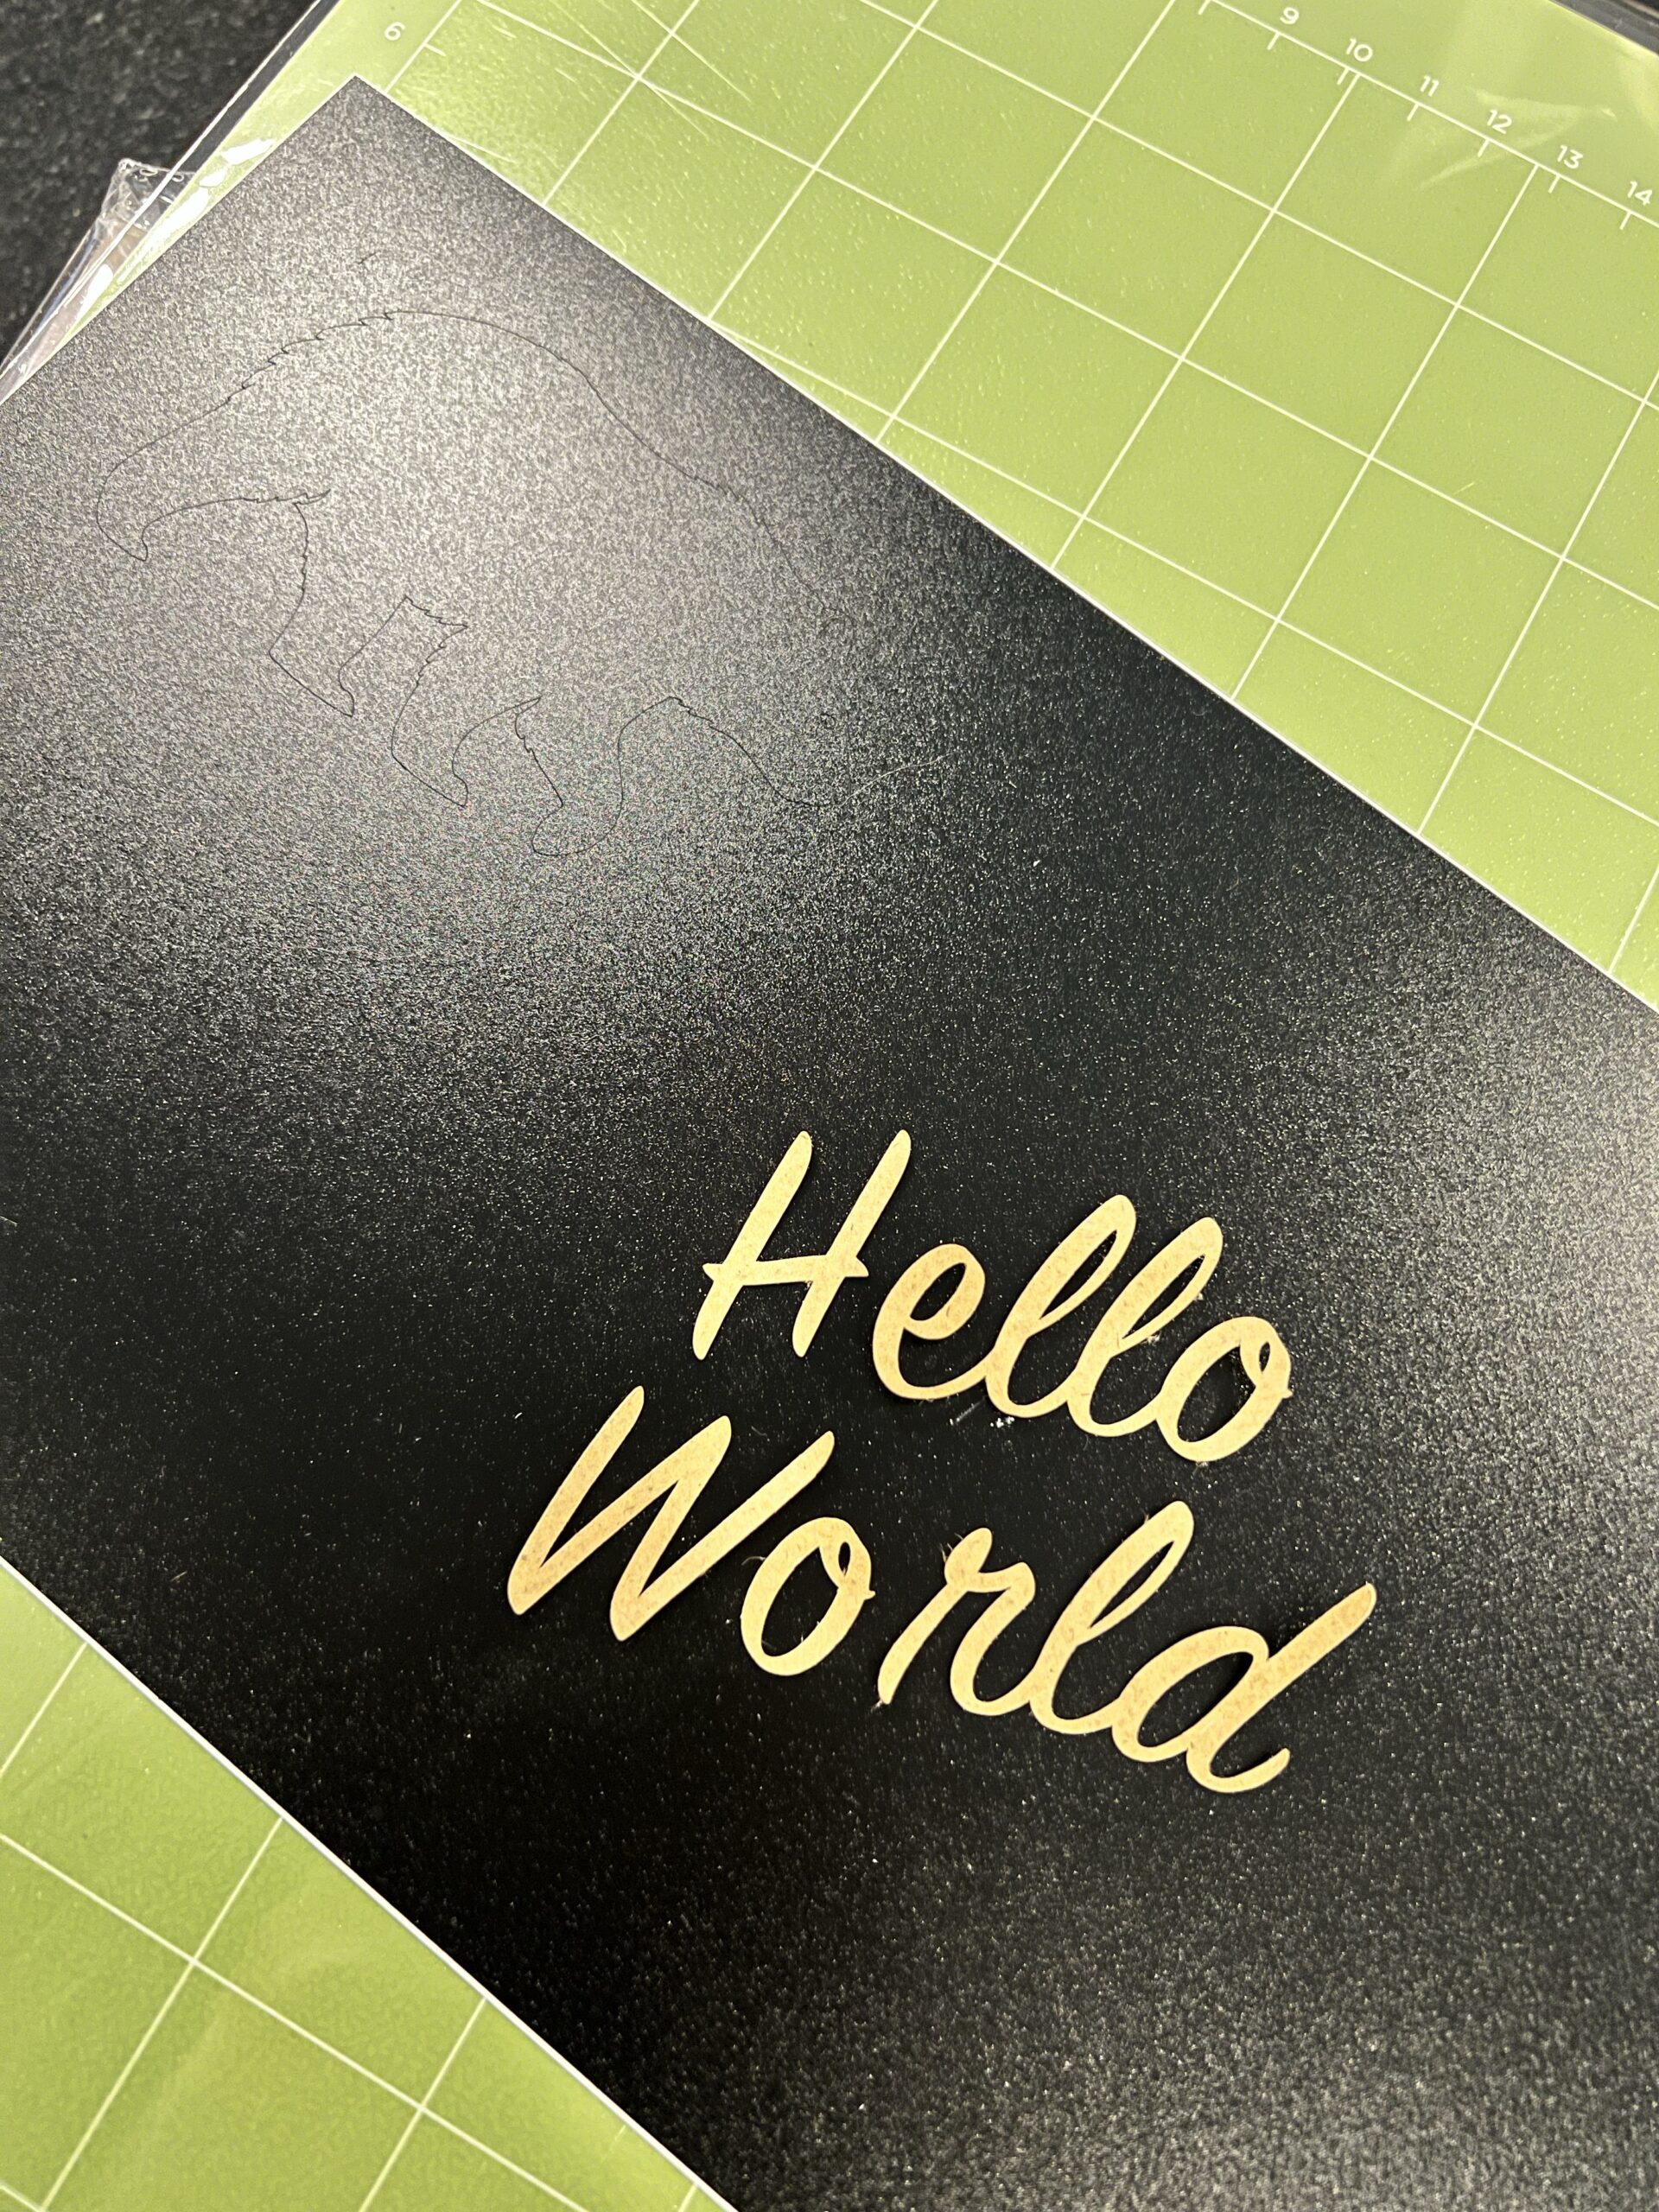
I got a cricut because I wanted to create some packaging insert for the candles. I didn’t know how I was going to create it and it just seems easier to have my own cutting machine to figure out instead of going through a company. The above is the sample bear you can cut to test out the machine and i did a quick ‘hello world’ just to see how it works!
I’ve created a few other things like cork coasters and package inserts and more to come! I will be creating wick centering tools with cardboard and and.. maybe even stickers?? So many ideas, so little time.
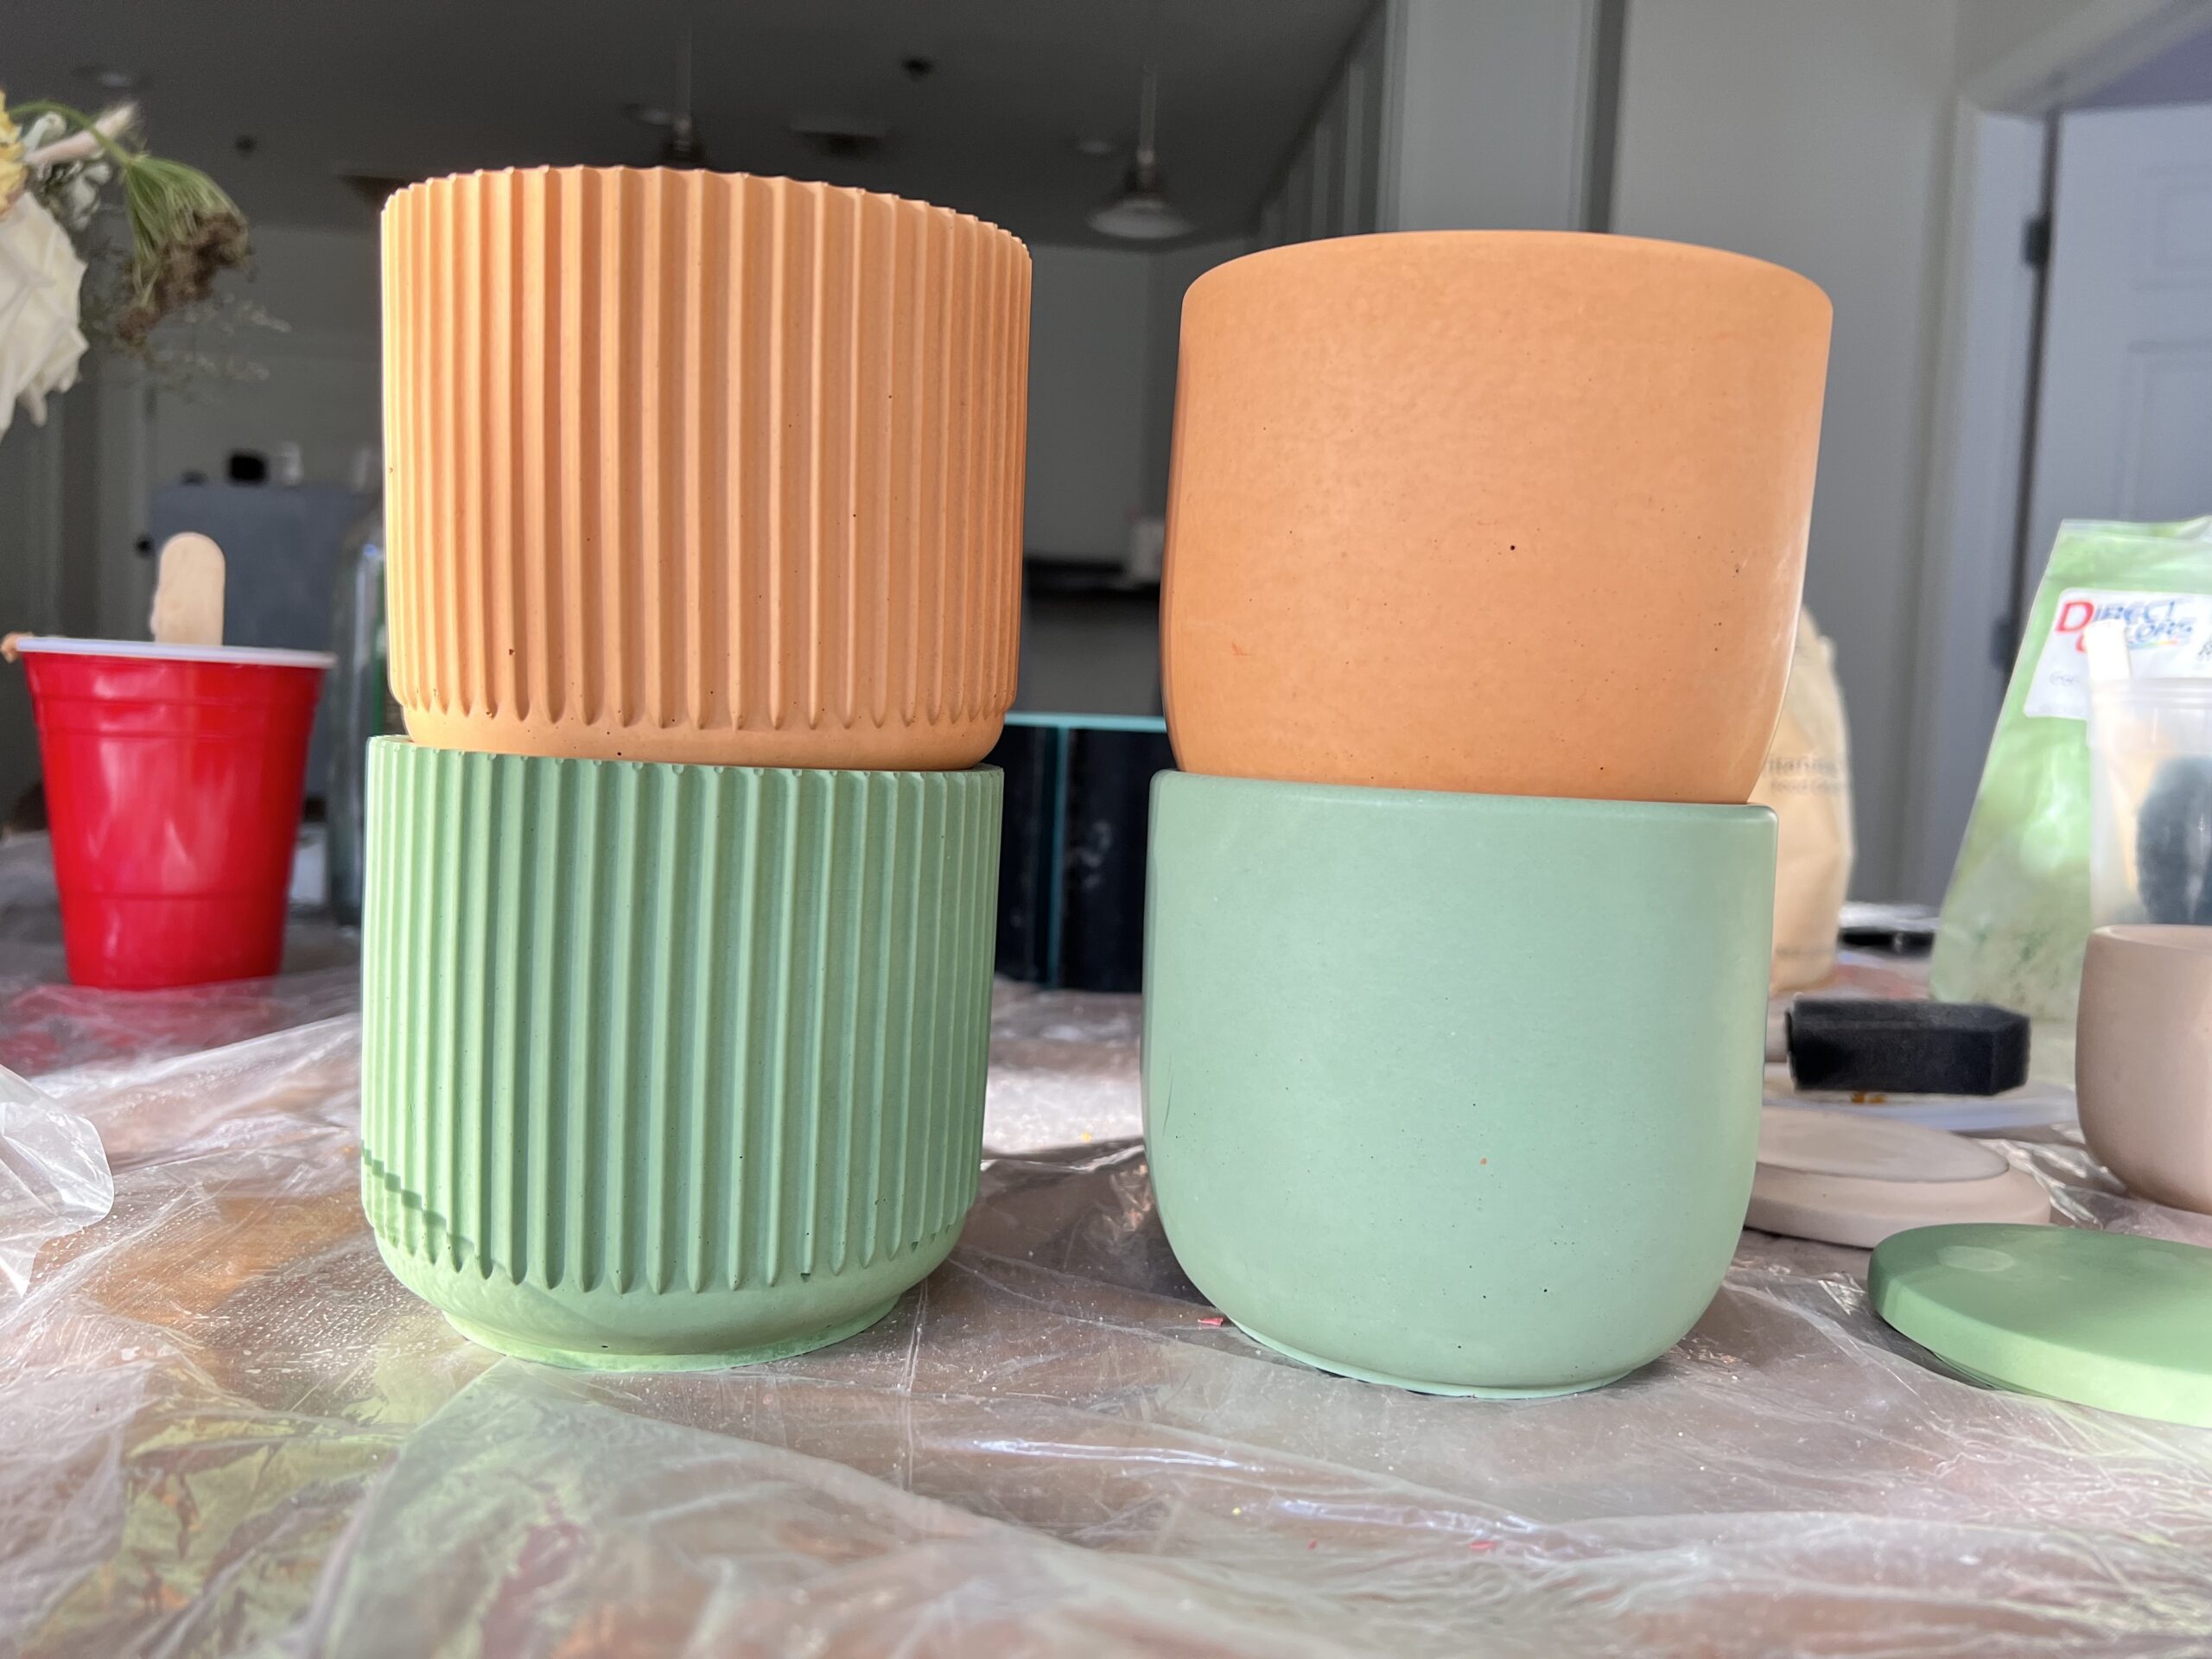
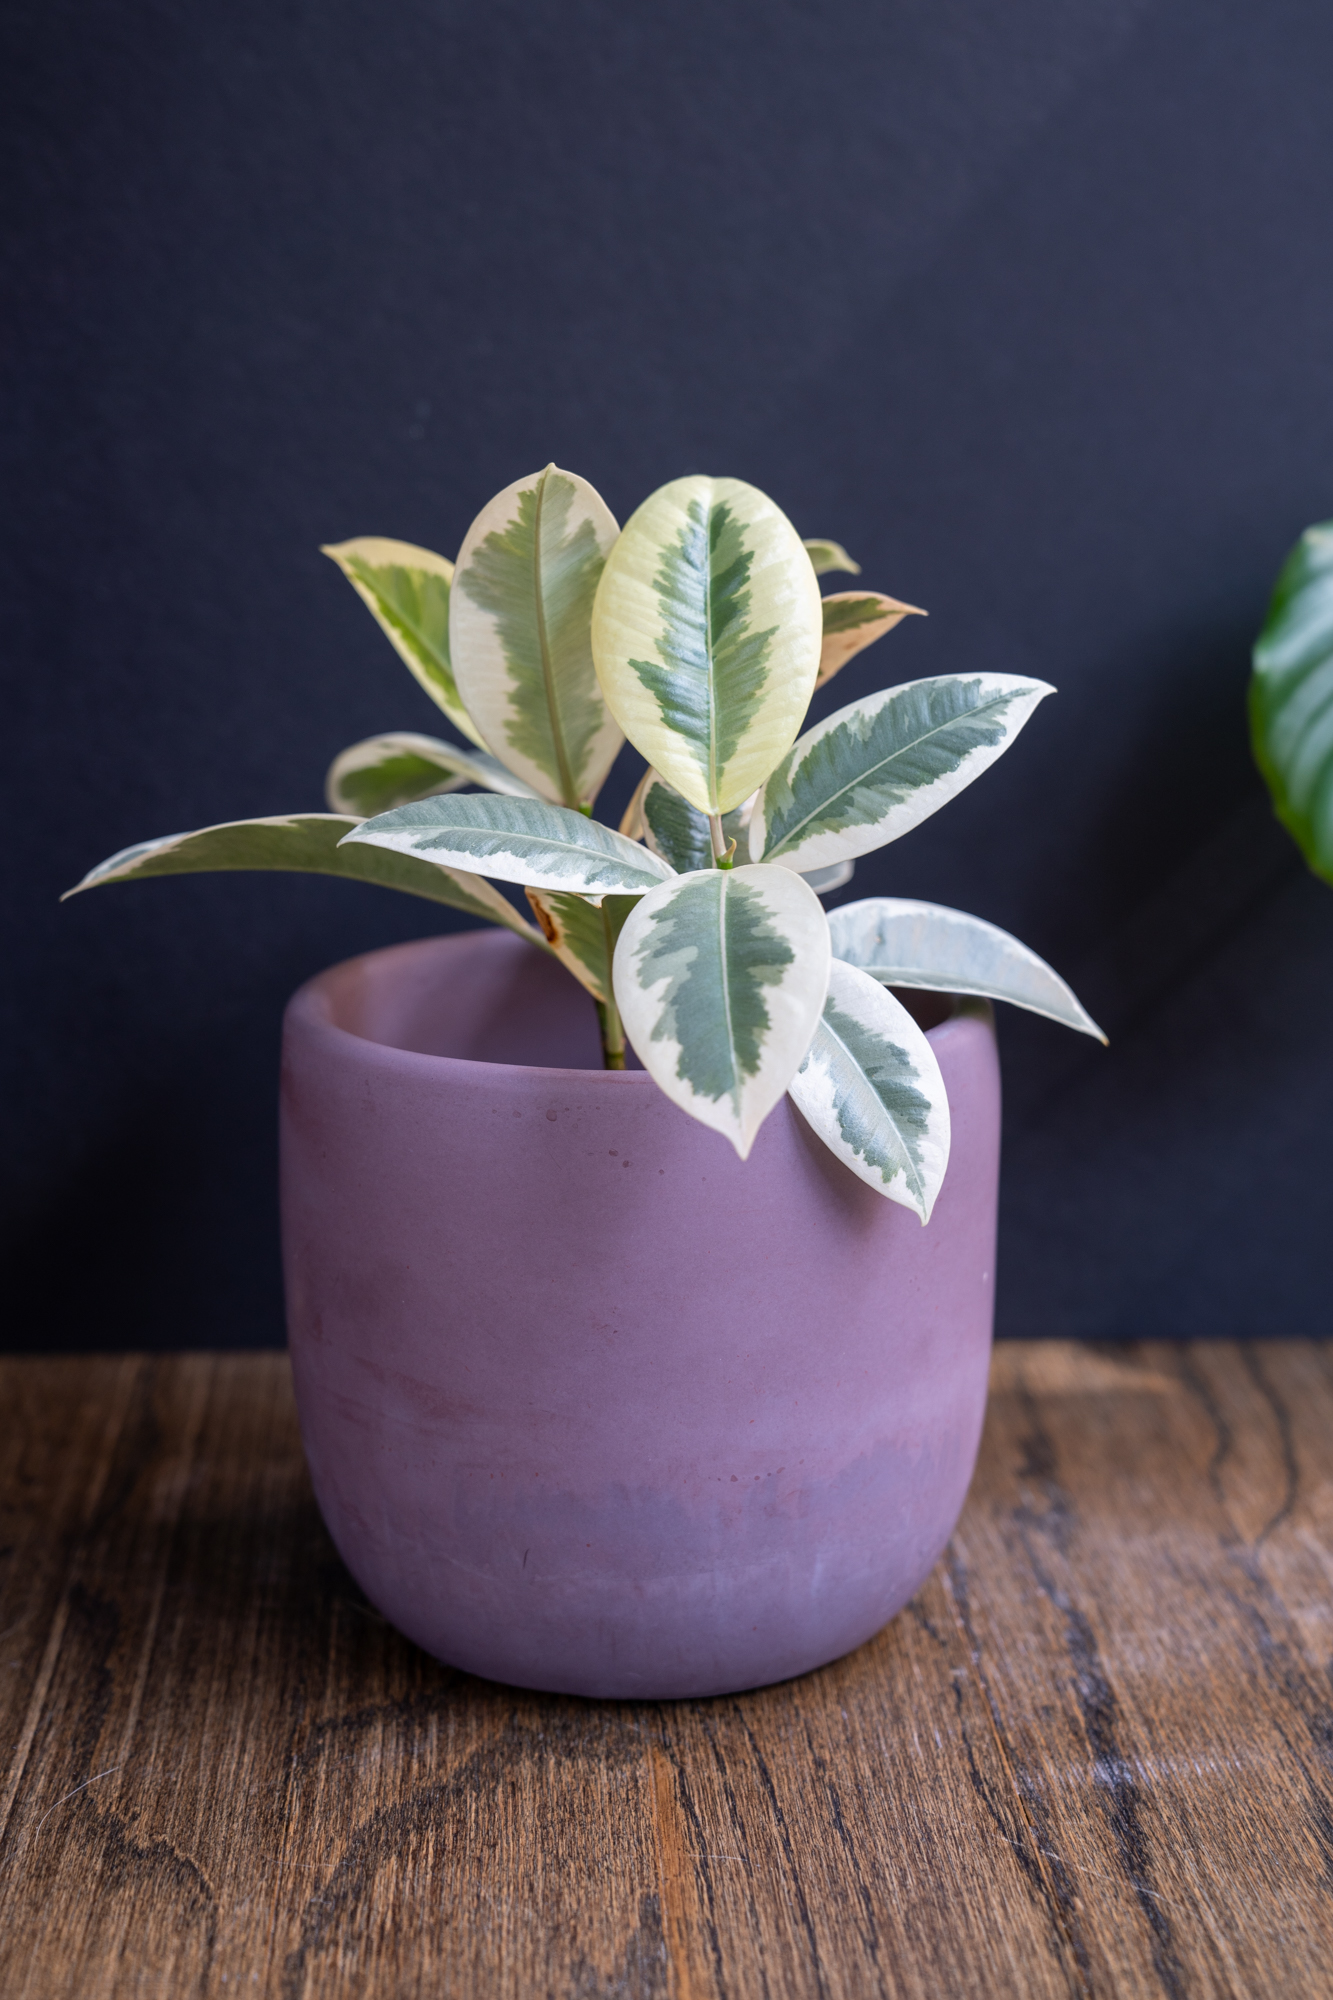
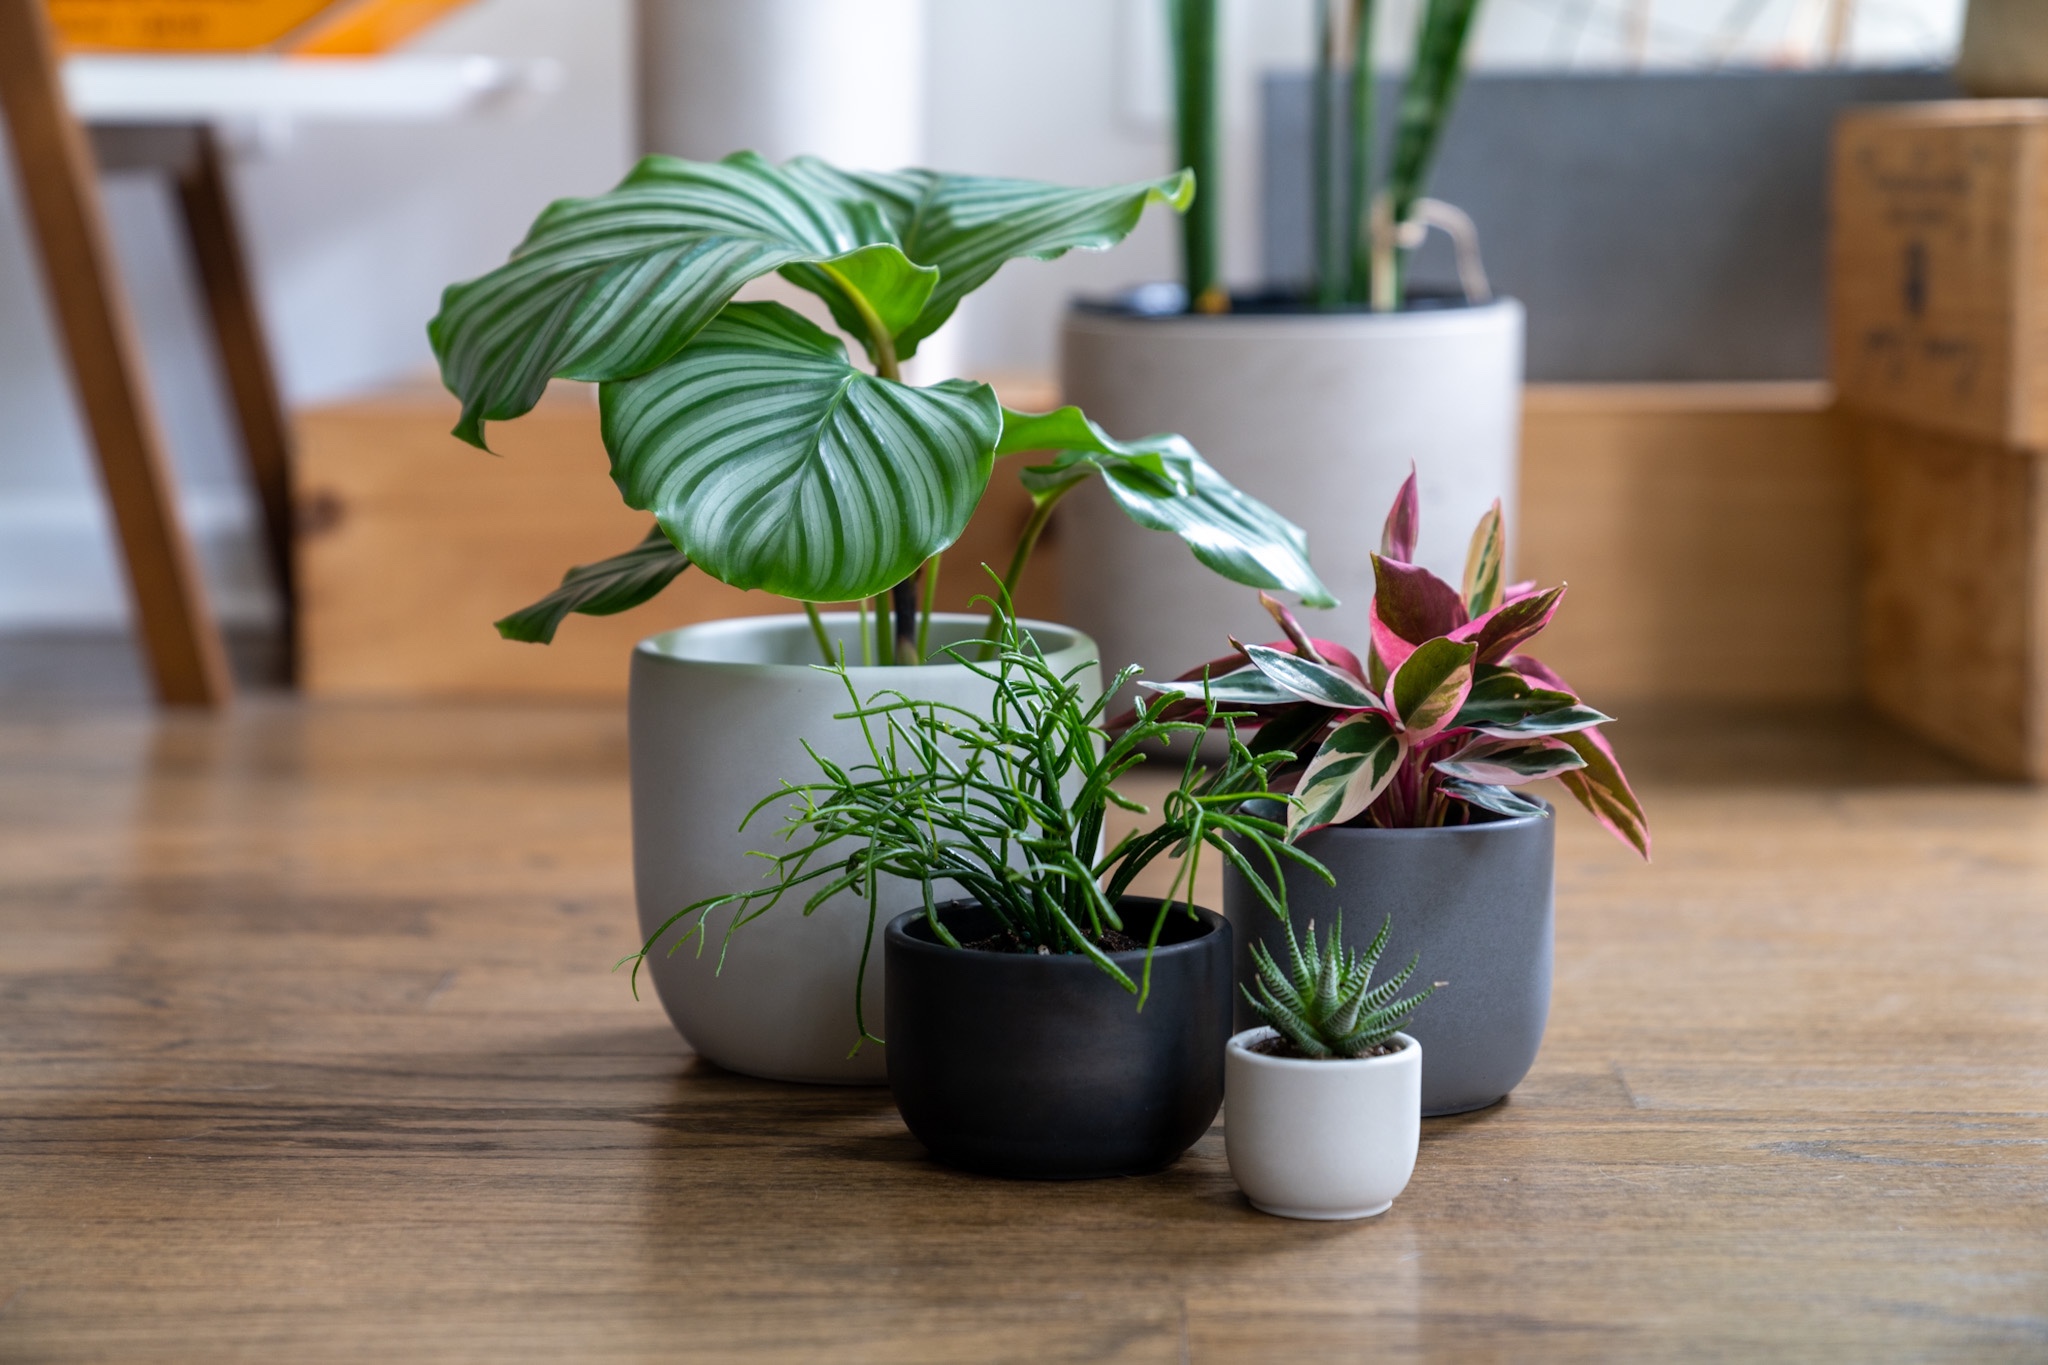
As part of testing vessels, I’ve bought many different kinds of test out the shape, size, and overall look. When I started, I really thought the vessels would be great as planters! I mean look at that photo, doesn’t it look great in different combinations?
I measured out all the interior sizes of the planters before I headed down to my local plant shop to see if any plants would fit. I completely forgot to actually bring a measuring tape to the plant store! I ended up just measuring based on how big the plants were to my phone which is about 5 inches.
If anyone has an interest in just the pot itself, let me know! I think they look adorable as planters.
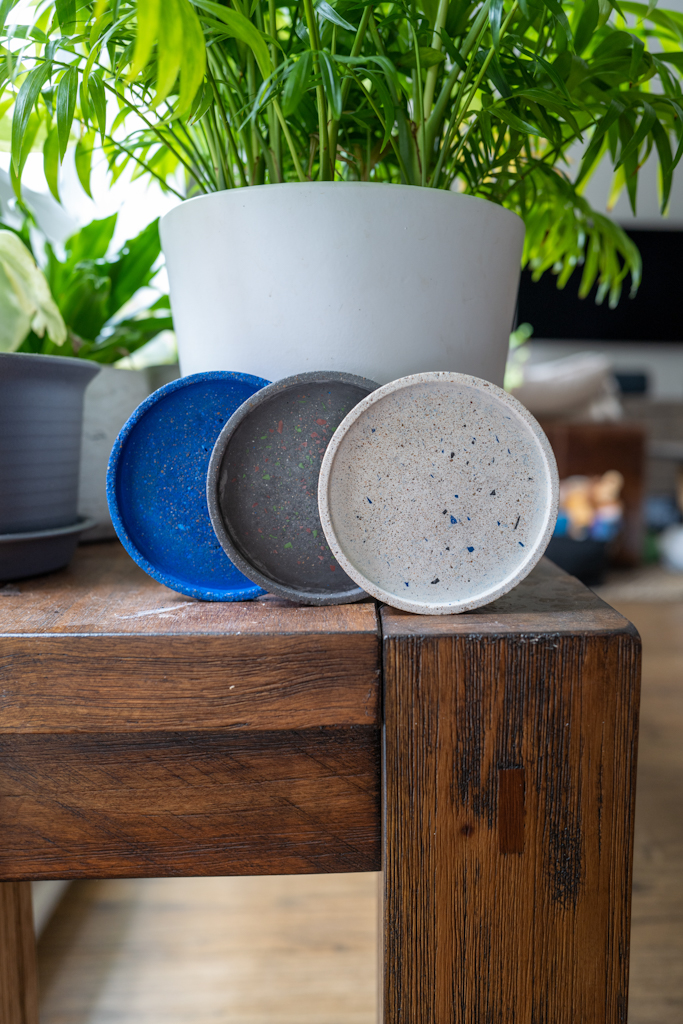
One of the things that got me into making concrete vessels is the terrazzo effect. You know, the specks of different types of colors that you can see through cement. Going through the process of making the coasters isn’t that difficult. Make a bunch of different color chips by spreading the cement out and cracking it the next day. Then jam as much of those chips into the mold as you pour the cement for the coaster in. The last part is the most time consuming: sand down the cement until you can visibly see the chips. As you can tell from the photo above, I sanded as much as I can (manually!) and it still didn’t come out what other people have!
I realize a lot of the terrazzo items online are actually made out of jesmonite. The sanding process is much easier and you don’t get these tiny sparkle rock things you get with cement. To me, even though it looks pretty, it’s just not worth the effort. I’ll let the pros make the terrazzo vessels!