This will be short..! The TLDR is: always follow the same formula or procedure when you’re making crafts. Write down the instructions if you can’t remember very well like me! Here is what happens when you don’t remember the temperature to bake pins and you end up ruining a bunch:
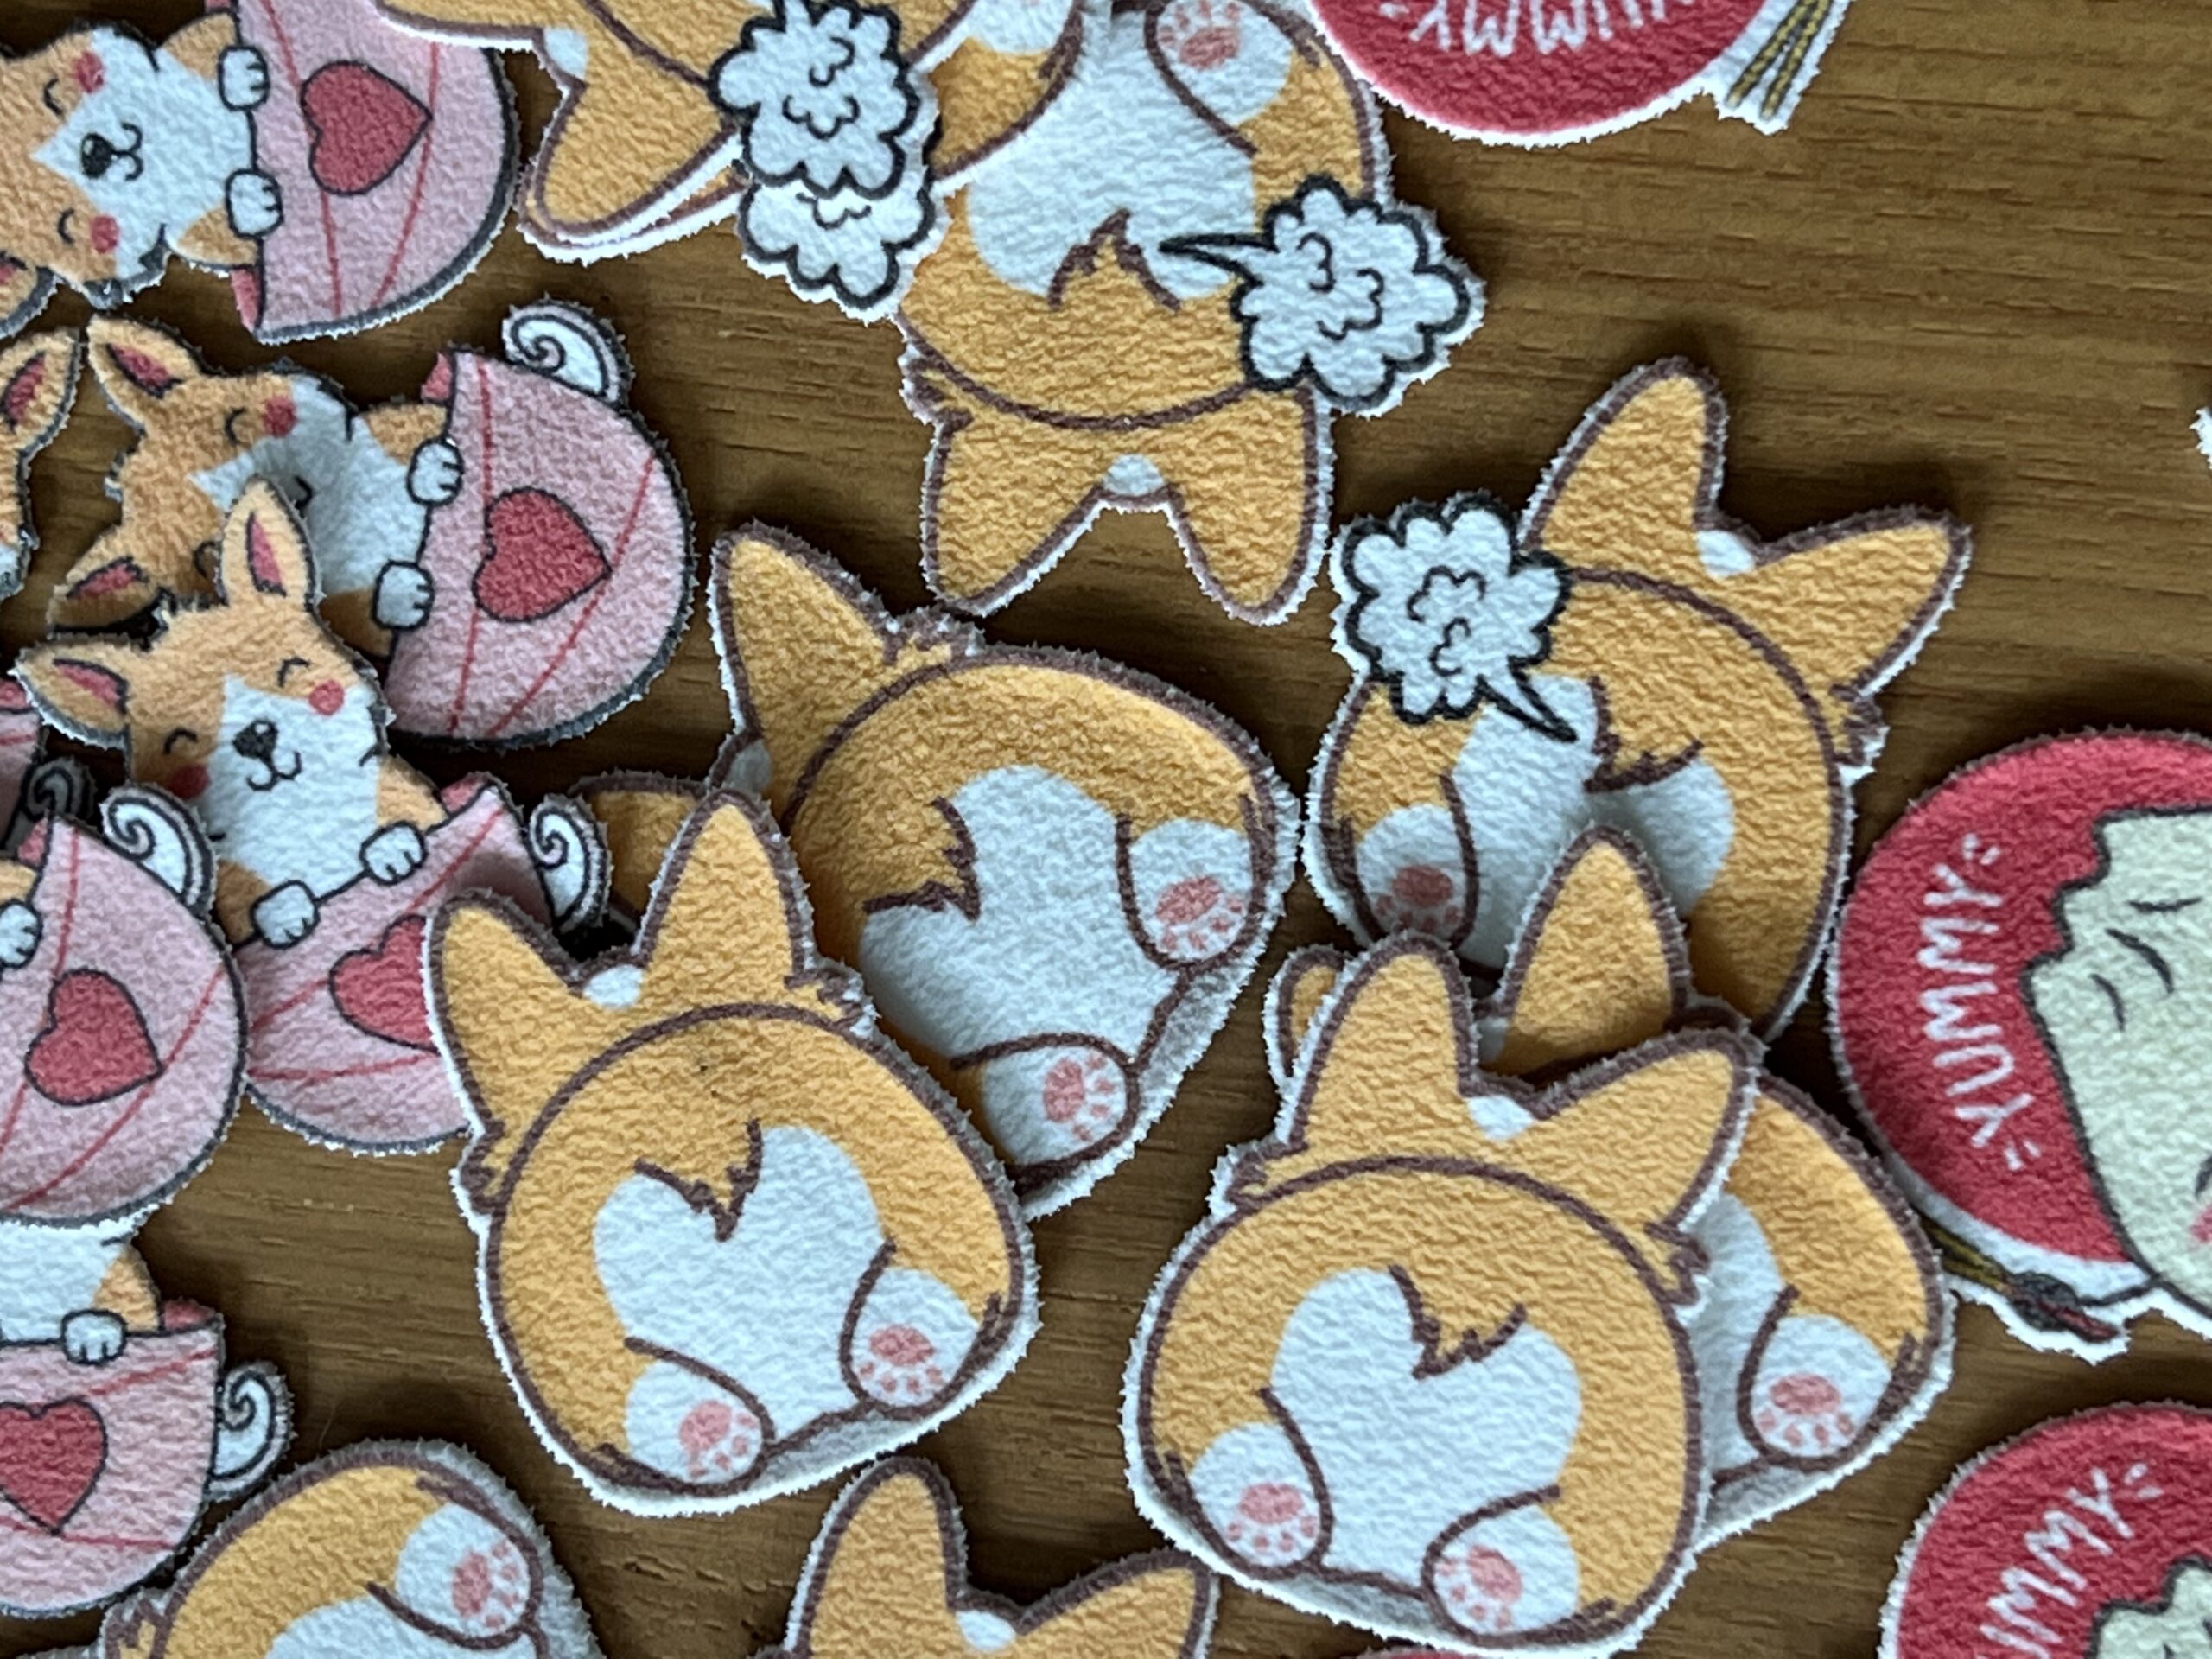
overbaked pins
As you can tell, these got overheated and you can see the wrinkling when they shrunk. I’ve ruined at least 2 sheets worth of pins before I realize the temperature was too high. The pins didn’t shrink the way I wanted and created this ‘wrinkle’ effect. Agh!
So learn from me: write down your try and true instructions!
Somehow, I got into this rabbit hole of creating plastic pins out of shrink film paper and UV resin. There’s a great youtube video about how to do that here:
Since I have all of the tools (cricut, printer, conviction oven), I bought the shrink film paper, UV resin, and pin backs to start off. I have to say, it’s so cool!
You start off with printing out the images you want to shrink, and then you can use scissors or a cricut to cut out the images. I used my cricut because it was easier and I needed to justify the purchase..! The setting I used was either the knife blade with 4x cutting using the ChipBoard (1.5mm) setting. I just stopped the cricut when it hit 4x. I’ve also used the Deep Point blade using the Plastic Packaging setting (6x) and that worked fine. I think I’ll try the 3x setting with Deep Point next because it dug into the mat pretty deep.
Shrink Paper cut out of pins
Then I shoved it into the oven at 350F preheated and it came out like this after 1 minute or so! Definitely keep an eye on it and wait till it flattens.
shrink film paper after oven
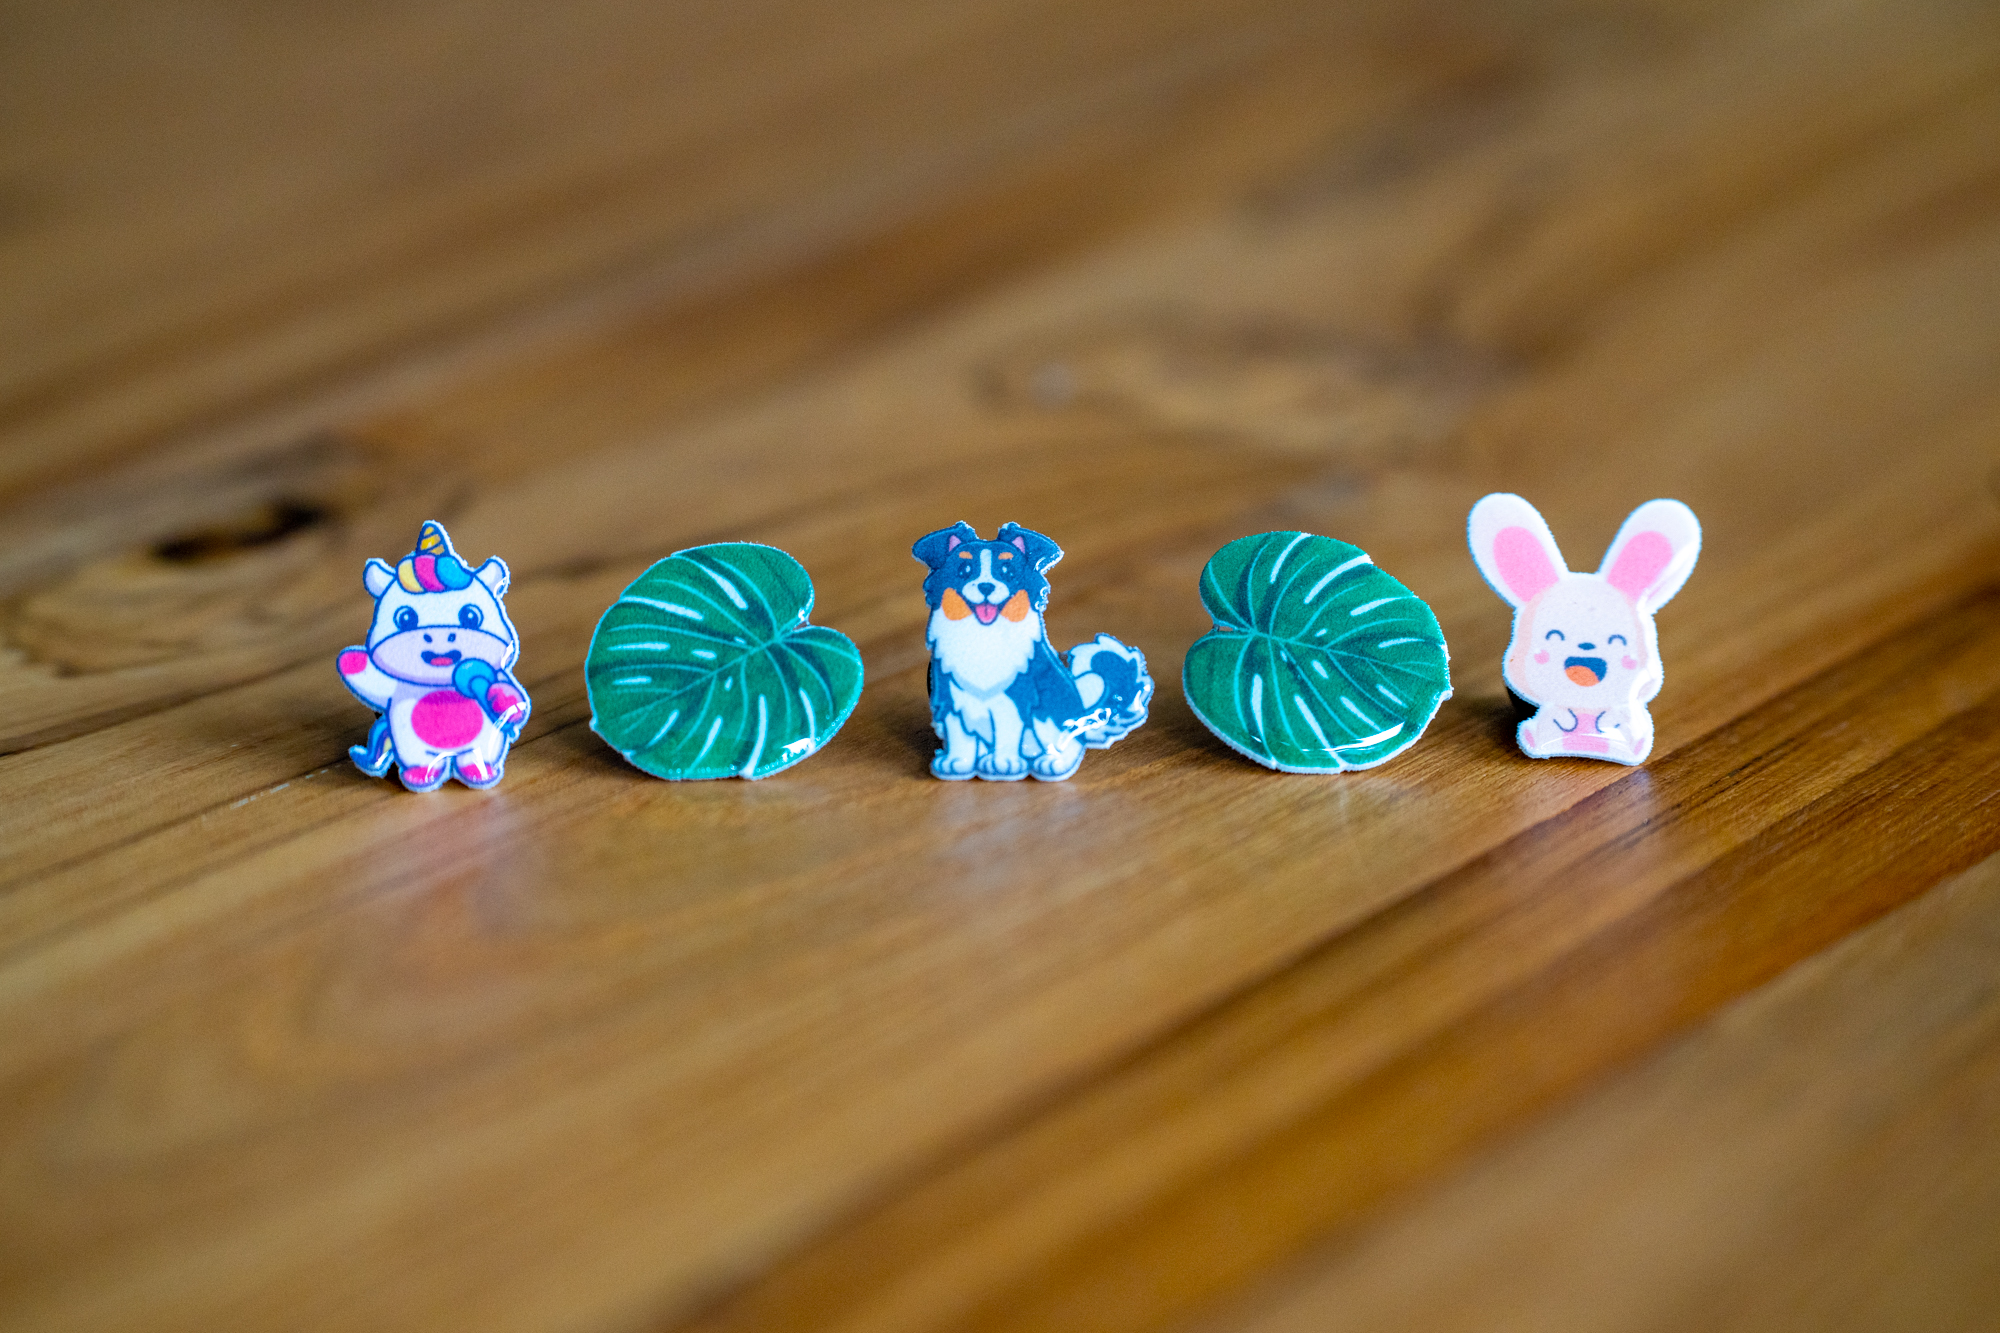
I ordered more pin backs with better secured backing which will come tomorrow so these are in progress. Here’s a few I’ve finished from the last batch after the UV resin and putting in the pin backs:
Unicorn, Monstera, Dog, and Bunny pins
Aren’t they adorable?? The question is, are they worth making and selling or just making for the cute factor?
There’s so many different kind of ways to label your candles. I started off with a basic paint sticker so I know which candle is what and passed those around as testers.
Then I went on to the wraparound over the lid to make sure people can see what the scent was and to stick the lid to the vessel. I had a few thoughts about the aesthetic and the functionality of it. If someone was trying to smell the candle in person at a retail location, that might be hard to do! But if they were unpacking it at home, it’s like unwrapping a bow.
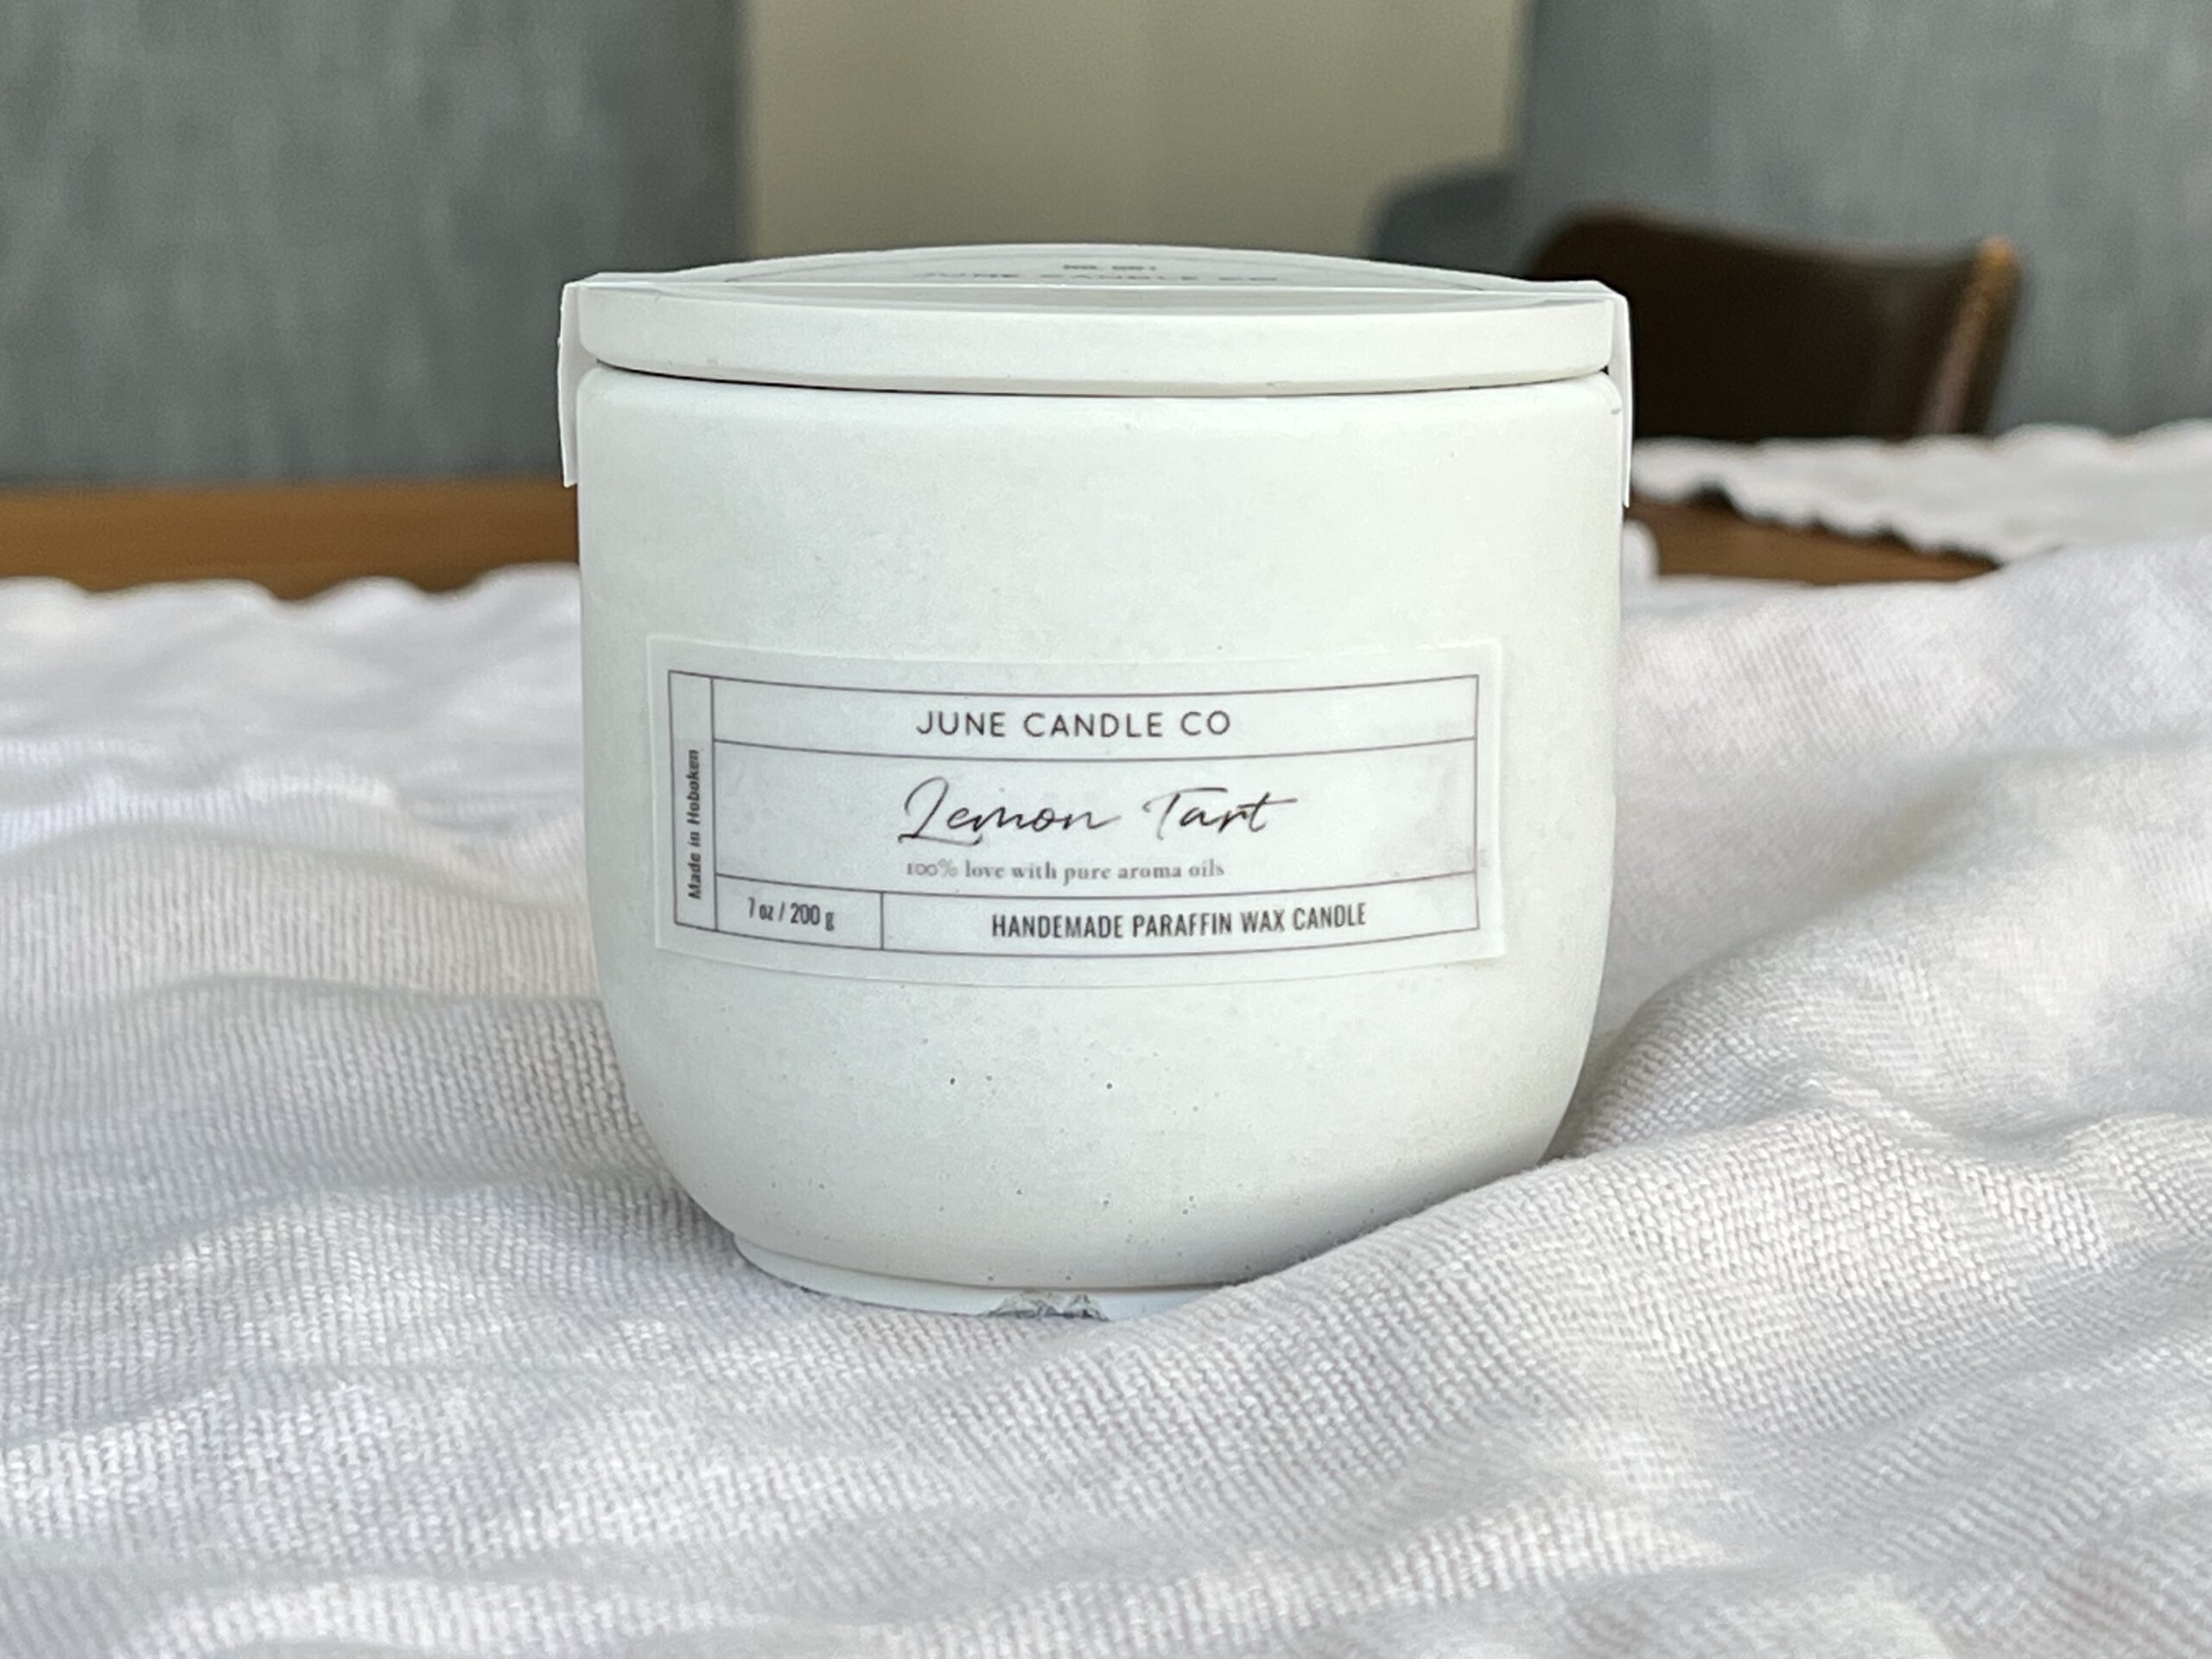
I got some feedback that it was hard to know what the candle scent is once they take over the paper. My latest try is vellum paper over the top with the lid tapped down and a label at the front of the candle. People can still ‘unwrap’ the candle and they will have a reminder label in the front to show them what the scent is. They can also turn it around if they want to try a minimalist aesthetic or just simply take it off. Let’s see how this one turns out!
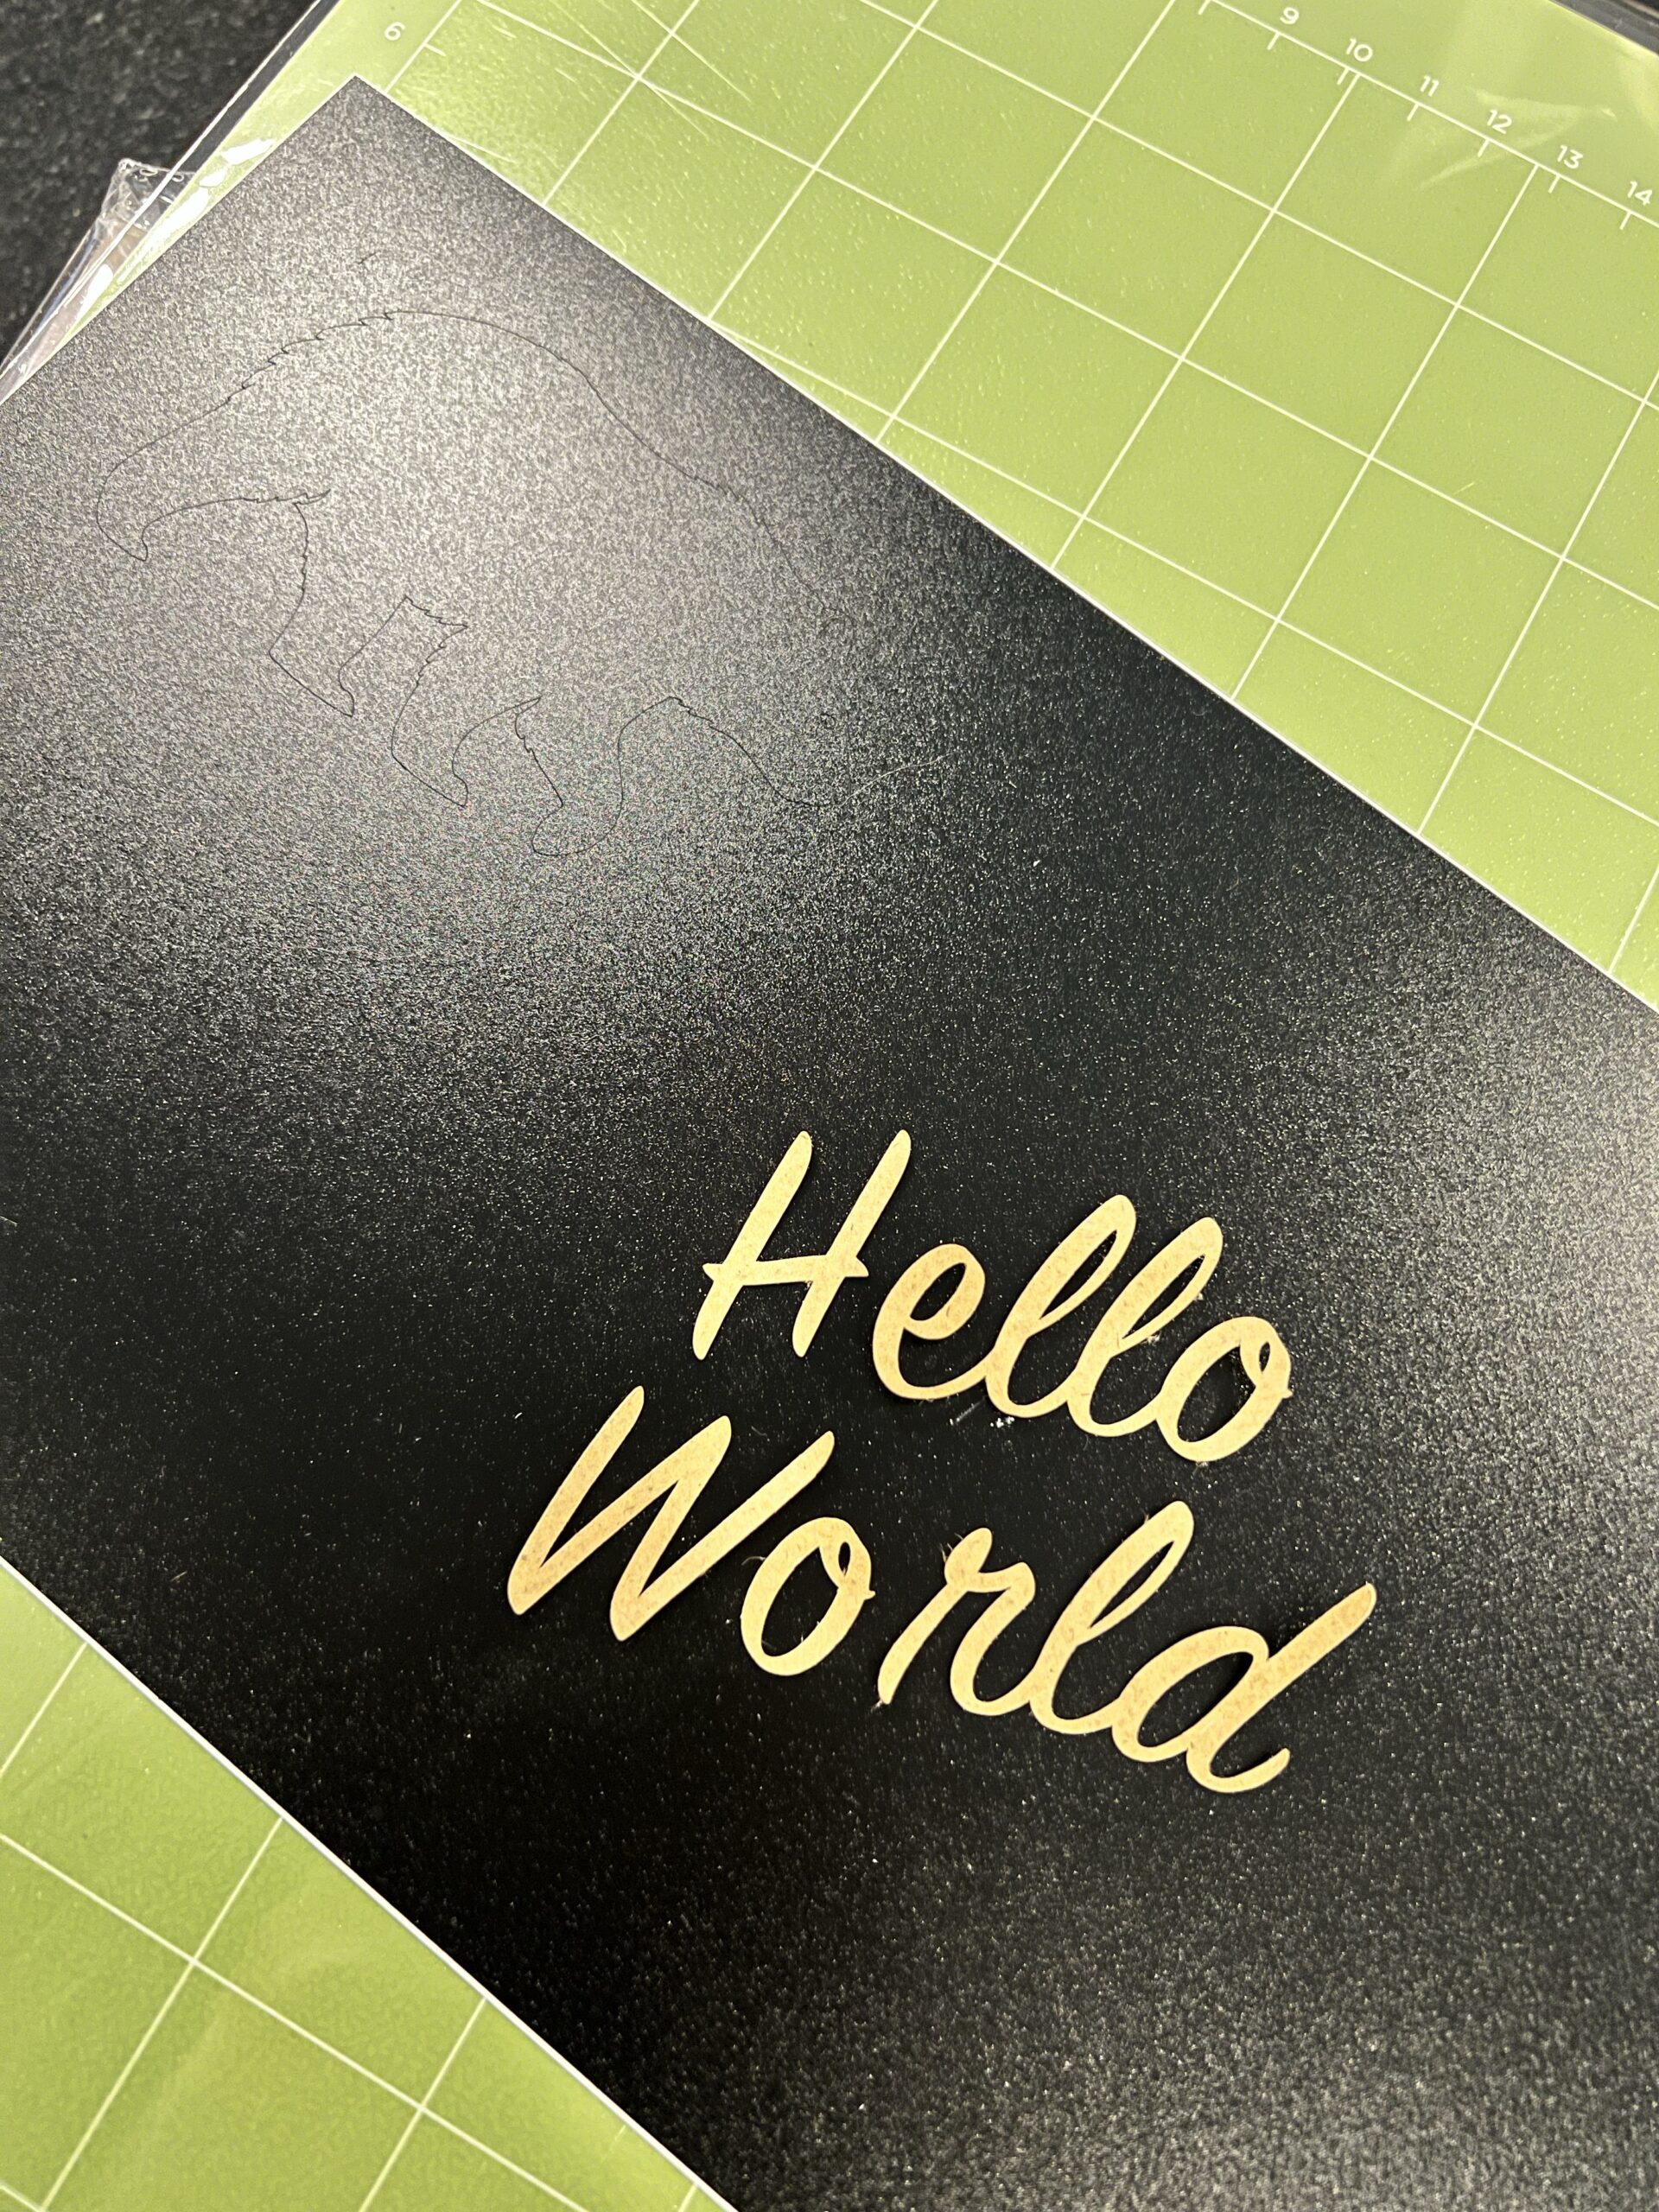
I got a cricut because I wanted to create some packaging insert for the candles. I didn’t know how I was going to create it and it just seems easier to have my own cutting machine to figure out instead of going through a company. The above is the sample bear you can cut to test out the machine and i did a quick ‘hello world’ just to see how it works!
I’ve created a few other things like cork coasters and package inserts and more to come! I will be creating wick centering tools with cardboard and and.. maybe even stickers?? So many ideas, so little time.